On the General Settings screen, you will see two fields that need to be updated: WordPress Address and Site Address (URL). For most standard installations, these two URLs should be identical. Enter your new URL into both fields.
Table of Contents
- 1 Why Would You Need to Change Your WordPress Site URL?
- 2 3 Ways to Change Your WordPress URL
- 3 Conclusion: Save Time and Avoid Headaches with RunCloud
Why Would You Need to Change Your WordPress Site URL?
Scroll to the bottom of the page and click the “Save Changes” button. After saving, WordPress updates your settings and may ask you to log in again. Your site will now be accessible via the new address.In most cases, both URLs are the same.
- Switching to HTTPS: After installing an SSL certificate, you should change your URLs from http:// to https://. If you don’t, browsers will show ‘mixed content’ warnings, which can damage trust and hurt SEO.
- Migrating to a New Domain: If you’re moving your website from old-domain.com to new-domain.com, updating these URLs is the first and most important step to make your site functional on the new address.
- Adding or Removing ‘www’: A common setup choice is whether to use https://www.runcloud-demo.com or https://runcloud-demo.com. Once you choose, update your WordPress settings to match.
- Moving from a Temporary Domain: When moving a site from a temporary or staging domain (like dev.runcloud-demo.com) to its live domain, update the address before launch.
3 Ways to Change Your WordPress URL
In this article, we’ll walk through the main reasons you might need to change your WordPress URL and show you the safest, simplest methods to do it.Step 2: Update the URL Fields
Changing Your WordPress URL in RunCloud (Recommended)
Learning how to change your WordPress site URL is a common need for site owners. Whether you’re moving to a new domain, switching to HTTPS, or taking a site live from staging, updating your URL settings is essential.
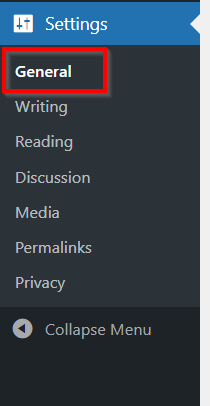
Step 1: Open WordPress Settings
Step 3: Save the Changes
Step 2: Edit Your URLs
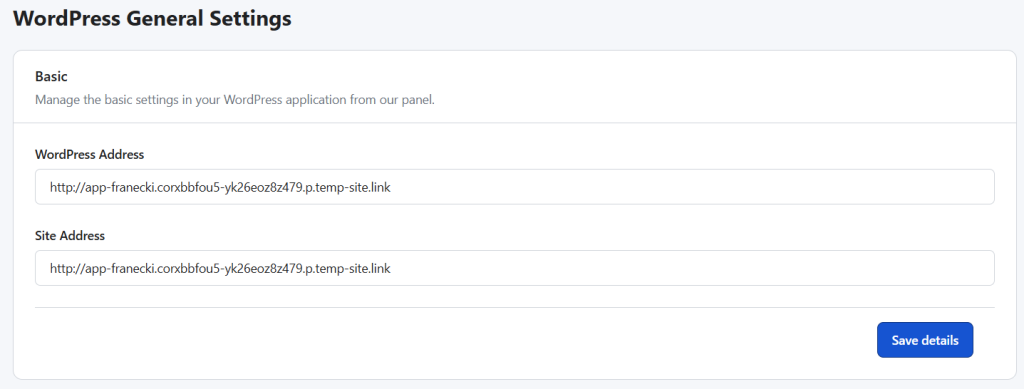
After entering your new URL, scroll down and click the “Save Details” button.
- WordPress Address: This is where your core WordPress files are stored.
- Site Address: This is the public-facing address that visitors type into their browser.
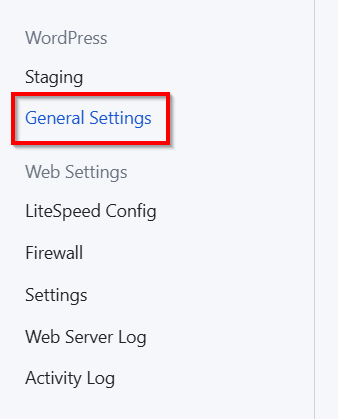
Step 1: Navigate to General Settings
If your site is working correctly and you can access your dashboard, you can use the standard built-in WordPress settings. This works well for small changes, like switching to HTTPS after installing an SSL certificate.
Step 3: Save Your Changes
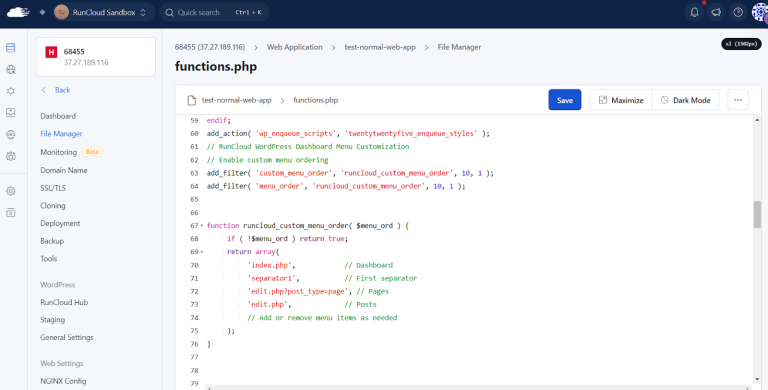
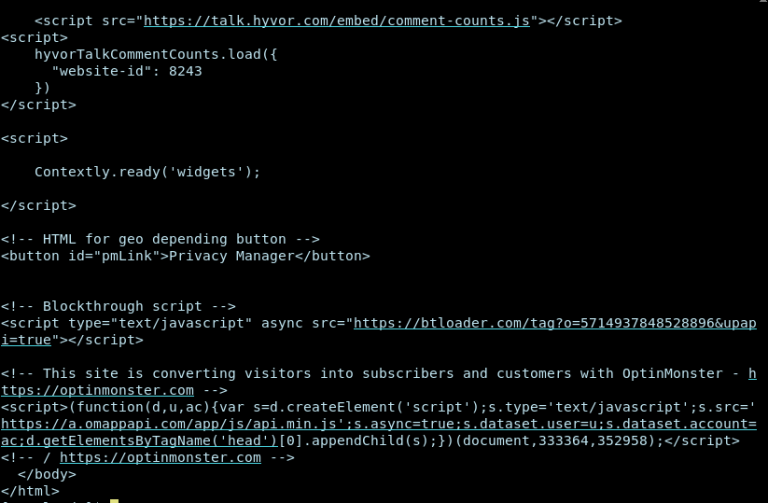
Open the wp-config.php file and add the following two lines of code just above the /* That’s all, stop editing! Happy publishing. */ line.While the RunCloud panel is the most direct way to manage your core settings, RunCloud is flexible and never locks you out of traditional methods. Editing wp-config.php is useful if you’re locked out of your WordPress dashboard after a failed URL change.
Alternative Method 1: Change WordPress URL via the Admin Dashboard
In your Web Application’s management menu (on the left-hand side), click on General Settings. This opens your WordPress settings.define( 'WP_HOME', 'https://www.runcloud-demo.com' );
define( 'WP_SITEURL', 'https://www.runcloud-demo.com' );
That’s it! RunCloud will automatically and safely update your WordPress configuration. Your site will now respond to the new URL.
With RunCloud, it’s much easier. Just edit the URL field in your dashboard, and RunCloud takes care of the backend changes automatically.Many guides make this process sound complicated, involving database edits or risky changes to configuration files. But with RunCloud, you can update your WordPress site URL in seconds, directly from your dashboard.

Ready to simplify WordPress management? Sign up for RunCloud today.Log in to your WordPress site with your administrator account. In the left-hand admin menu, hover over Settings and click on General.
Alternative Method 2: Change WordPress URL in wp-config.php
The “WordPress Address (URL)” and “Site Address (URL)” settings tell WordPress where its files are stored and what address visitors use to reach your site.You will land on the General Settings tab. Under the Basic section, you will see two important fields:
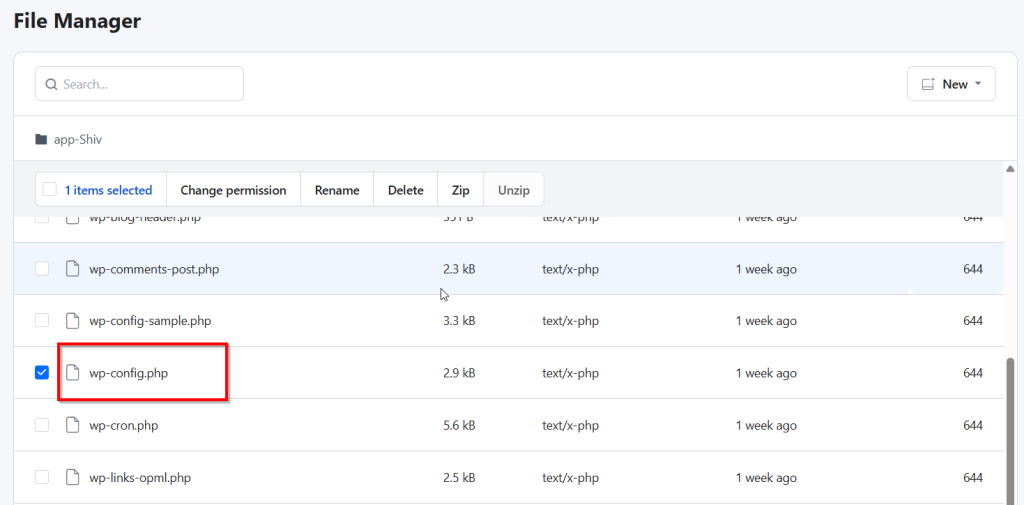
Step 1: Access Your wp-config.php File
- Using RunCloud’s File Manager: Navigate to your Web Application in RunCloud, click on File Manager, and see the wp-config.php file in the main folder list. Click to edit it.
- Using SFTP/SSH: Connect to your server using the credentials provided in your RunCloud dashboard. Navigate to your application’s root directory, usually
/home/runcloud/webapps/YOUR_APP_NAME/.
Step 2: Add the URL Definitions
Traditionally, changing these URLs meant editing wp-config.php, running WP-CLI commands, or modifying your database in phpMyAdmin. These methods are error-prone and can break your site if done incorrectly.Save the file and close the editor. This method hard-codes your site URL and overrides the database settings. Your WordPress site will now load from the new address.
Step 3: Save Your Changes
Changing your WordPress site URL shouldn’t require database edits or command-line work. With RunCloud, it takes less than a minute – no risk, no downtime.
| Note: When you use this method, the URL fields in your WordPress admin dashboard will be grayed out and uneditable. |
Conclusion: Save Time and Avoid Headaches with RunCloud
You won’t usually need to change them, but there are common scenarios where it’s essential:Simply click into these text fields and type in your new URL. For example, if you are moving to a live domain with SSL, you would change it to https://www.runcloud-demo.com.The wp-config.php file is a core WordPress configuration file in your site’s root directory. You can easily access RunCloud using the built-in File Manager or SSH/SFTP.