This is part 1 of a series of blog posts where I will walk you through all the steps needed to prepare your ESX hosts as part of bringing up a VCF 9.0.1 management domain. YES It is called ESX now and no longer ESXi anymore !!
The minimum number of required ESX hosts to deploy a VCF 9 MGMT domain when using OSA/ESA vSAN is 3 compared to 4 with the case of previous VCF 5.x releases. In addition, vSAN is not required as a principal storage to bring up a VCF 9.x MGMT domain anymore, NFS and FC storage are supported.
However, I still recommend (wherever possible) to go with vSAN to gain from all the benefits of having a software-defined storage with all the scalability, flexibility, enhanced performance, and ease of storage management via SPBM. For production environments, we still recommend having 4 ESX hosts when using vSAN storage layer to cater for maintenance and high availability requirements.
As I have a single physical HPE server, my home lab will be relying on 3 nested ESX hosts deployed to form the VCF 9.0.1 MGMT domain. As per VCF 9.0.1 BOM, we need to deploy/configure ESX 9.0.1.0 build 24957456 as part of the preparation process.
https://techdocs.broadcom.com/us/en/vmware-cis/vcf/vcf-9-0-and-later/9-0/release-notes/vmware-cloud-foundation-9-0-1-release-notes/vmware-cloud-foundation-901-bill-of-materials.html
In the below steps, I will guide you through the preparation of the ESX hosts. These steps will have to be repeated for all ESX hosts participating in the VCF bring up.
Step 1: Install ESX Host
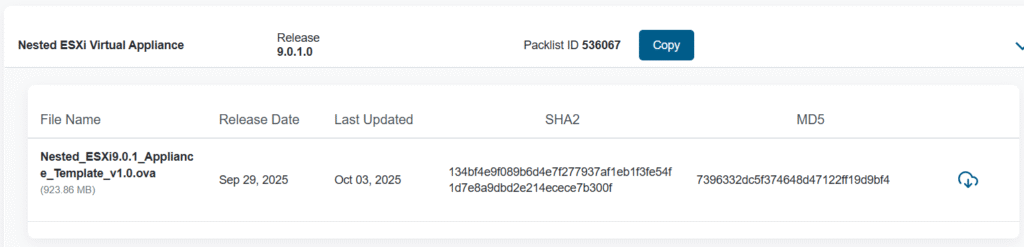
First, you need to download the nested ESX 9.0.1 OVA file from Broadcom support portal.
https://support.broadcom.com/group/ecx/productfiles?subFamily=Flings&displayGroup=Nested%20ESXi%20Virtual%20Appliance&release=9.0.1.0&os=&servicePk=&language=EN
For production deployments, you will install the vanilla ESX ISO image or the custom ESX ISO image based on your hardware vendor.
https://techdocs.broadcom.com/us/en/vmware-cis/vcf/vcf-9-0-and-later/9-0/deployment/deploying-a-new-vmware-cloud-foundation-or-vmware-vsphere-foundation-private-cloud-/preparing-your-environment/preparing-esx-hosts-for-vmware-cloud-foundation-or-vmware-vsphere-foundation/install-esx-on-hosts-using-the-iso.html
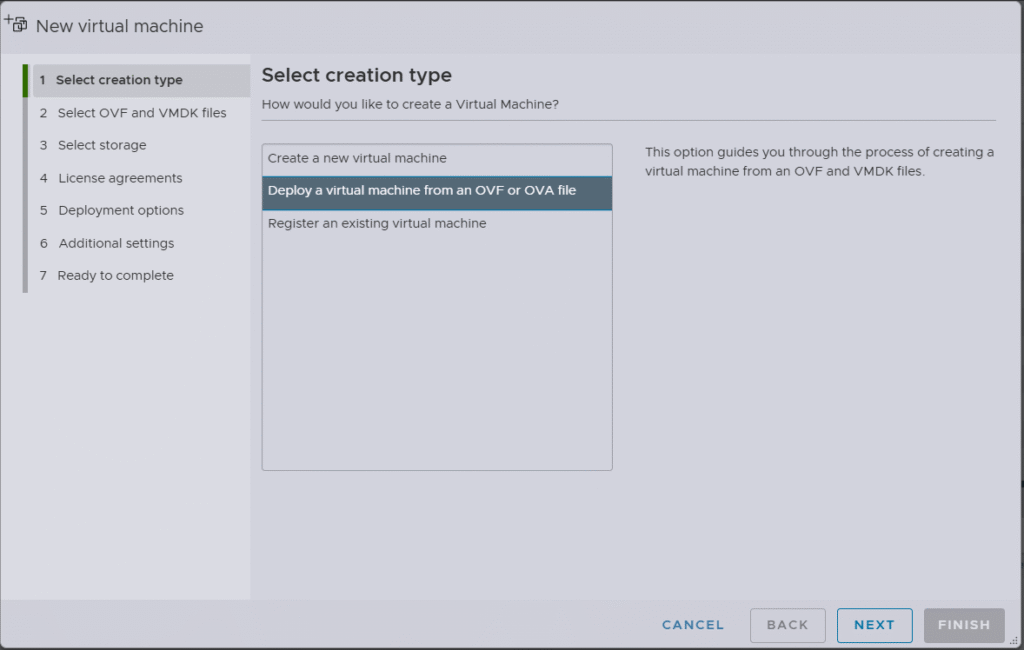
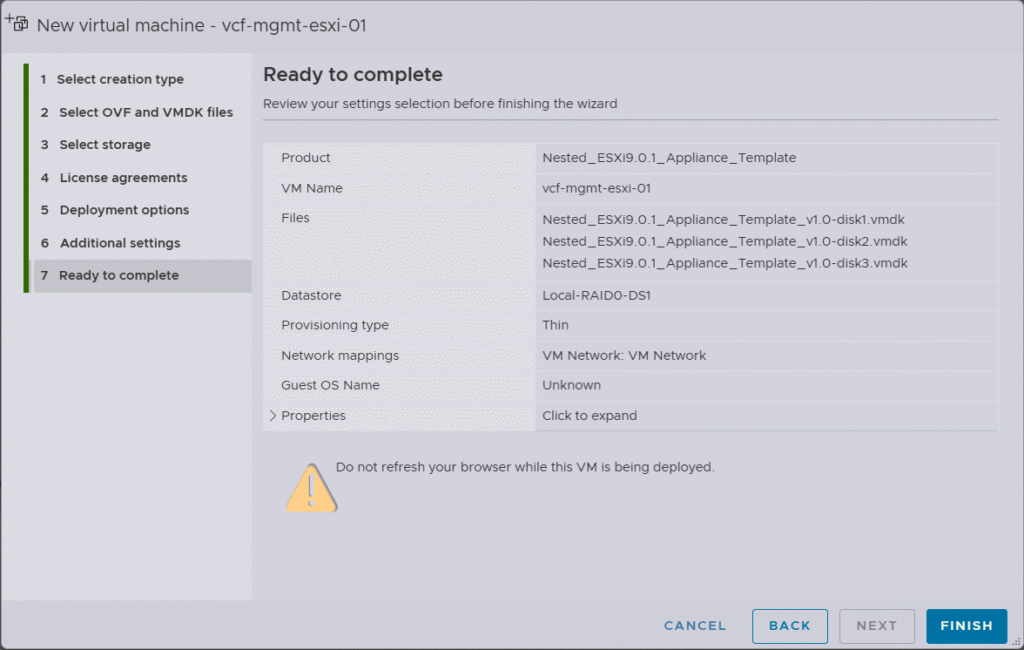
After that, you can kick off the ESX installation by deploying the OVA template.
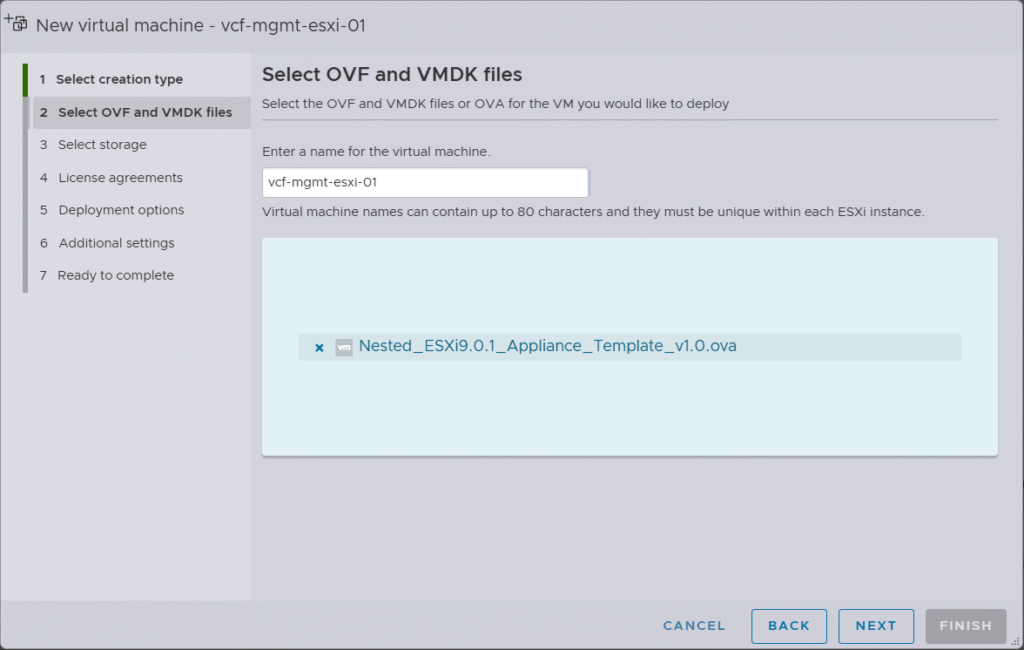
Provide a name for the ESX VM then browse and select the OVA file.
Select the datastore where you want to store the ESX VM files.

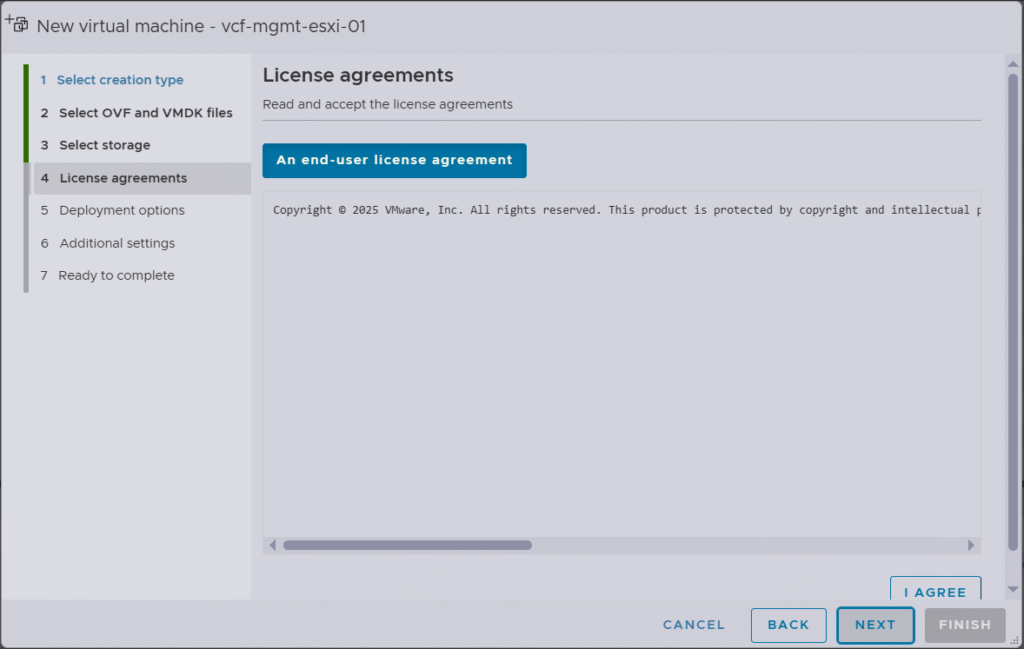
Accept the license agreement and click next.
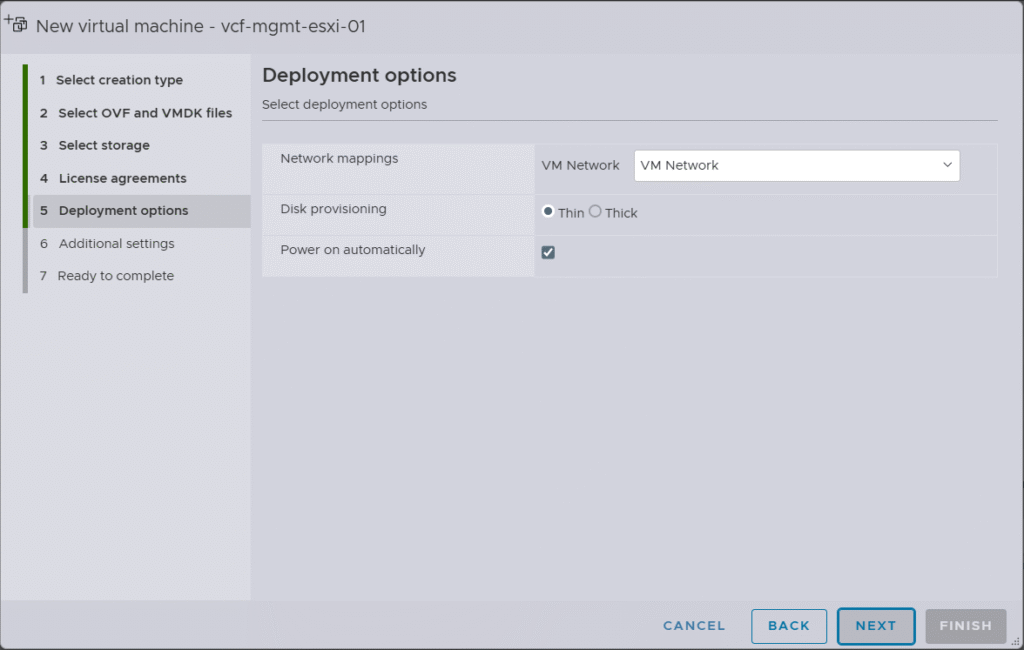
Choose the network portgroup for the ESX management interface and the disk type (thin/thick) and proceed with the installation.
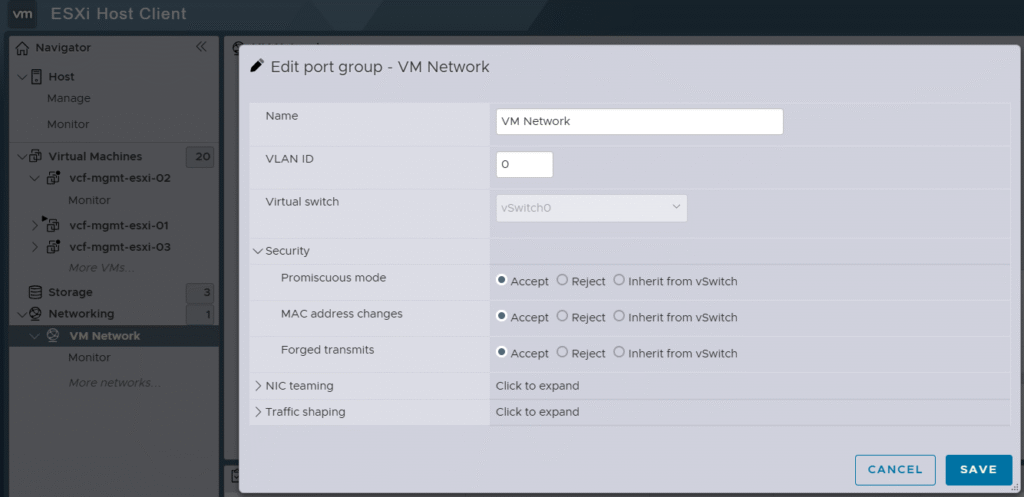
This “VM Network” is a portgroup on the physical ESX host installed on my bare metal hardware server. As it will be used for the nested ESX hosts for my VCF lab, I have enabled Promiscuous mode, MAC address changes, and Forged transmits.
Step 2: Perform Initial ESX Host Configuration
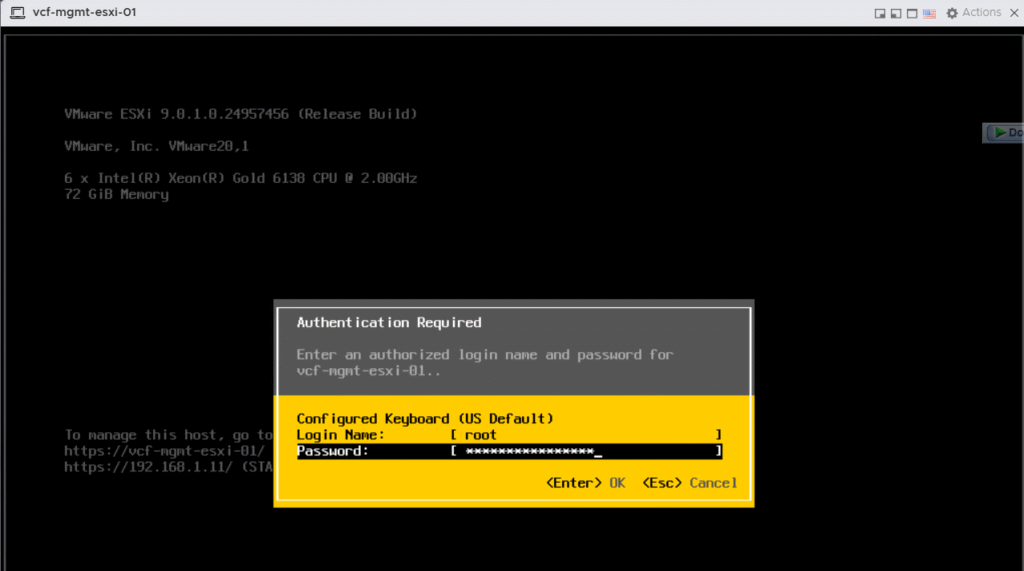
Login to nested ESX host DCUI interface using root and the default VMware1! password.
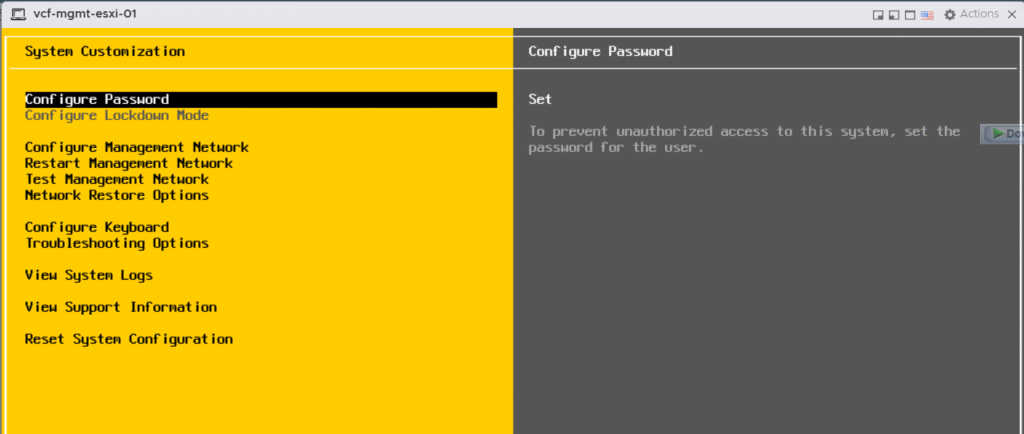
Change the root password under the “Configure Password” section.
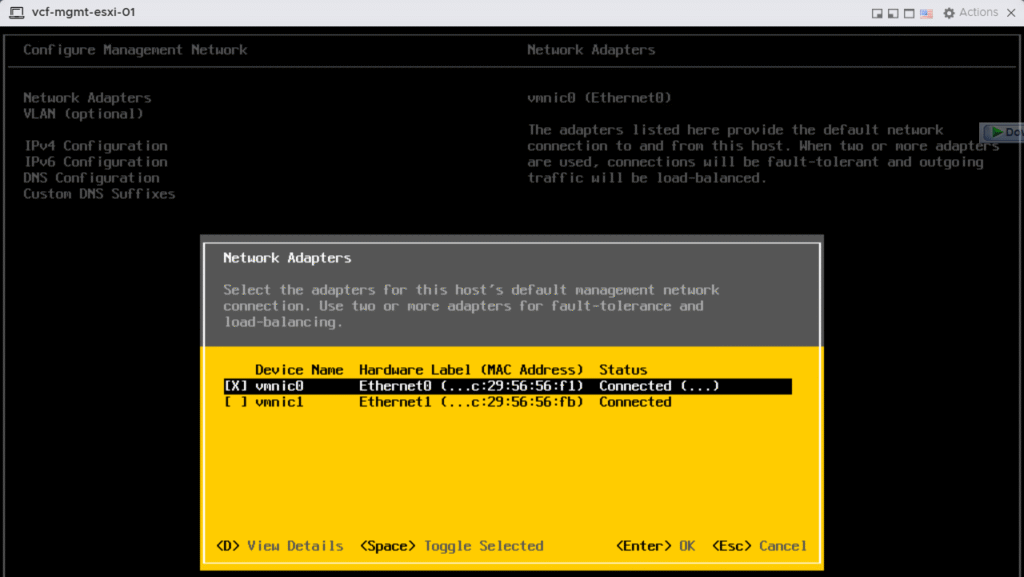
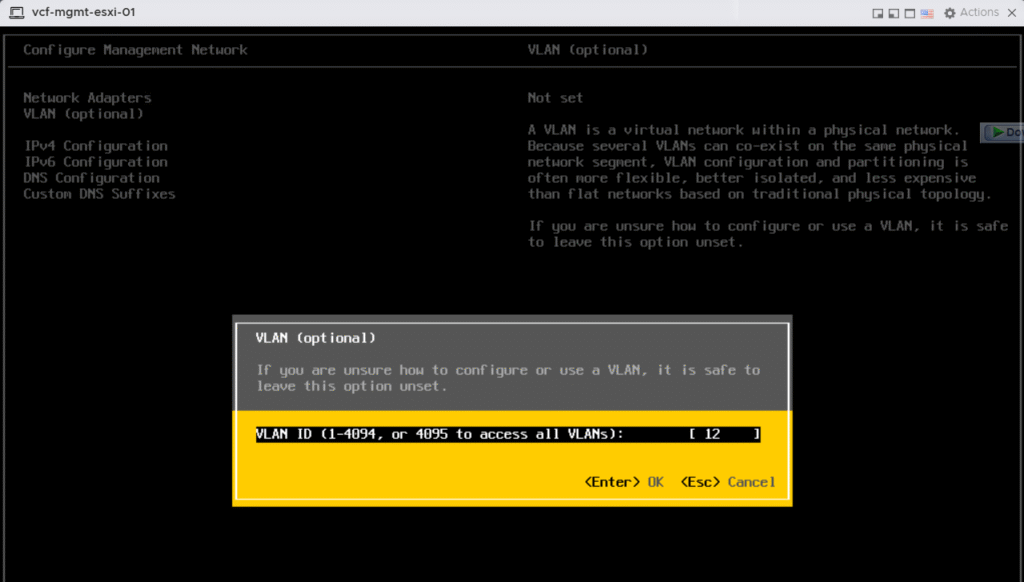
Under the “Configure Management Network”, choose the right adapter for ESX host management vMKernel interface and enter ESX management VLAN ID.
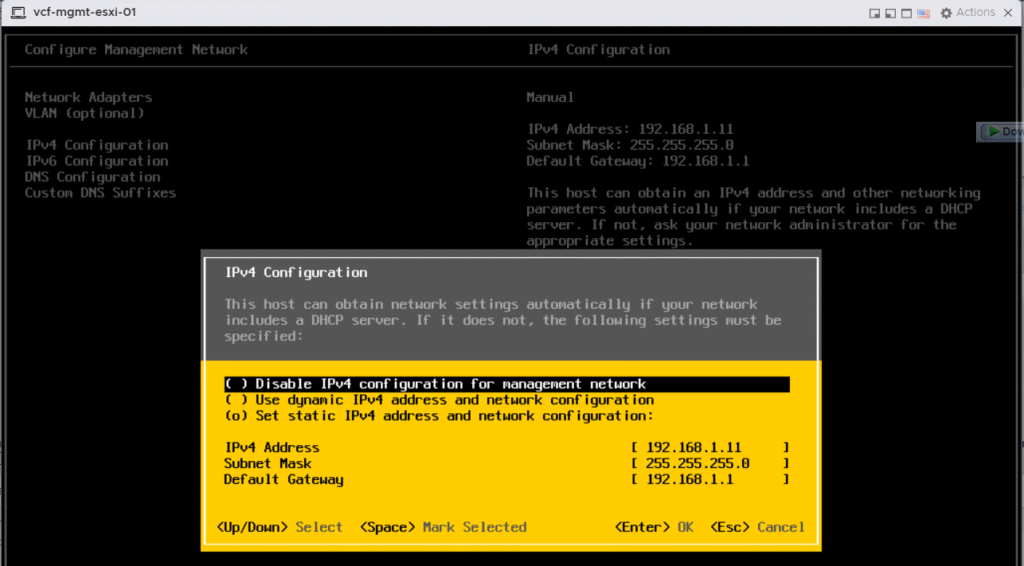
Next, you will need to configure a static IP address for the ESX host, along with the netmask and gateway for your ESX management VLAN.
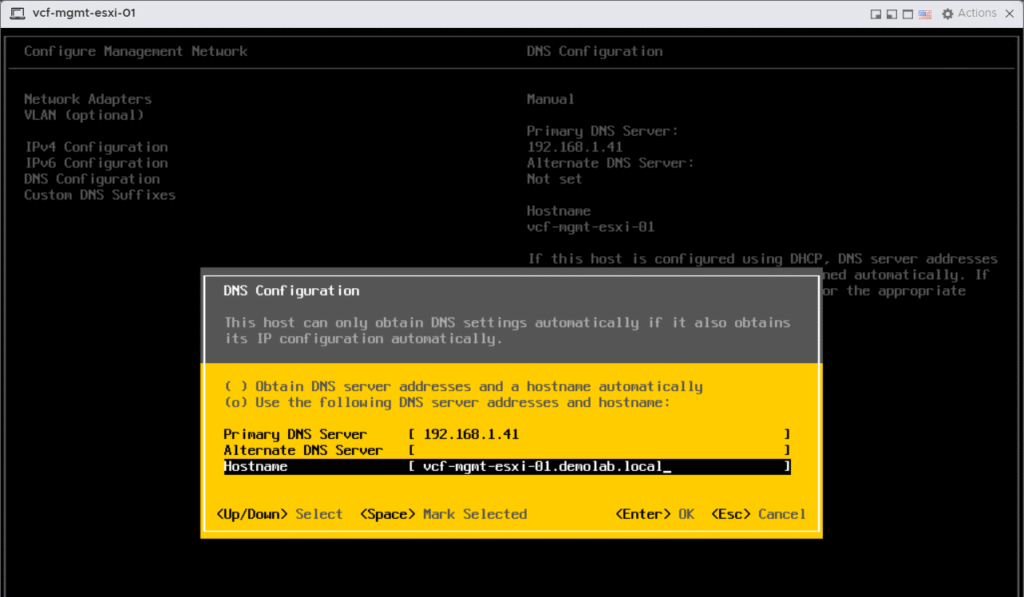
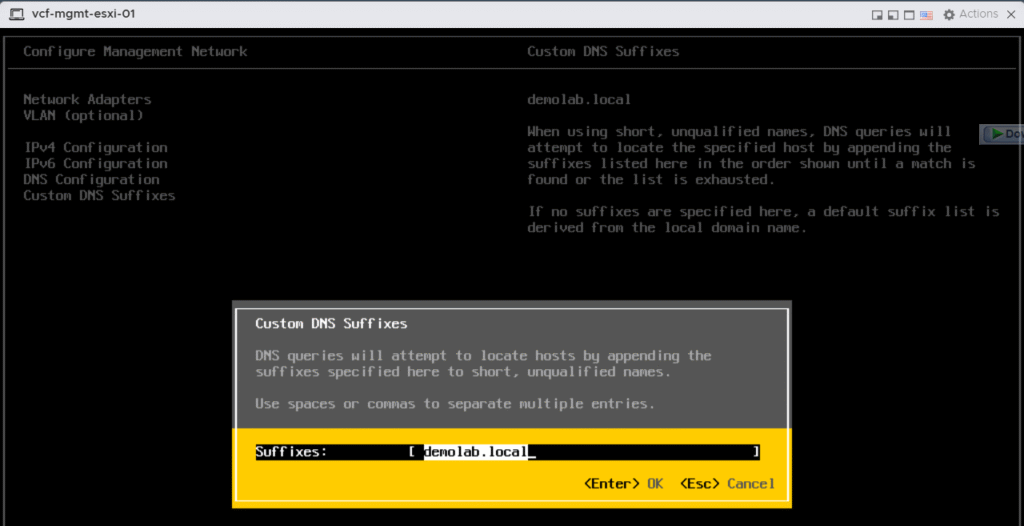
Then you need to fill in the DNS server IP address, hostname FQDN and your domain name DNS suffix.
Step 3: Configure ESX Host NTP Settings
Now you need to connect to the host management interface, https://<Host-mgmt-IP-Address> and login using root credentials. Then, fill the IP addresses of your NTP servers, and configure the NTP service startup policy as “Start and Stop with host”.
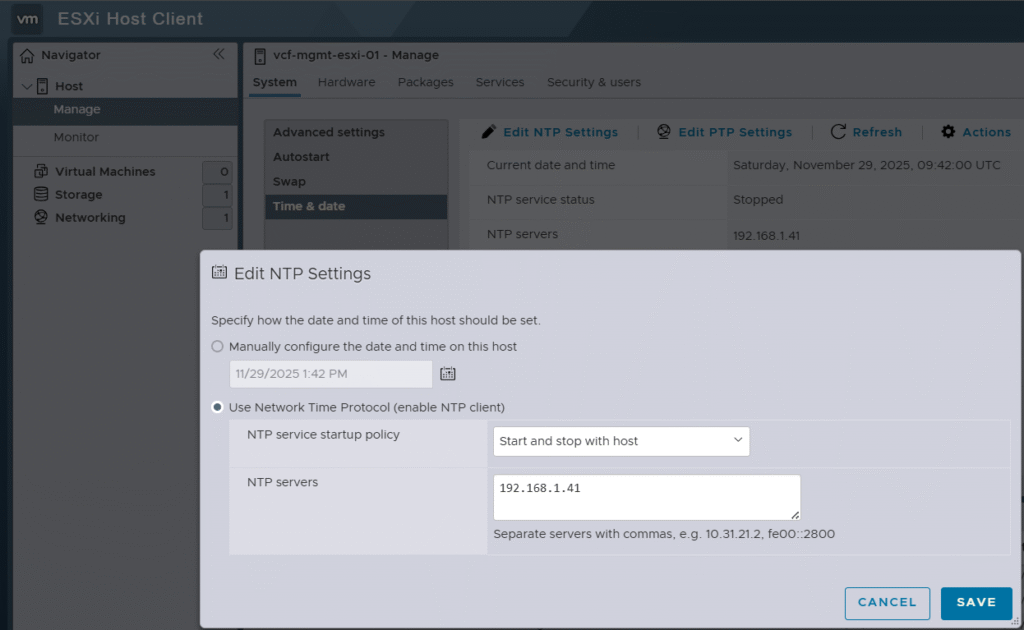
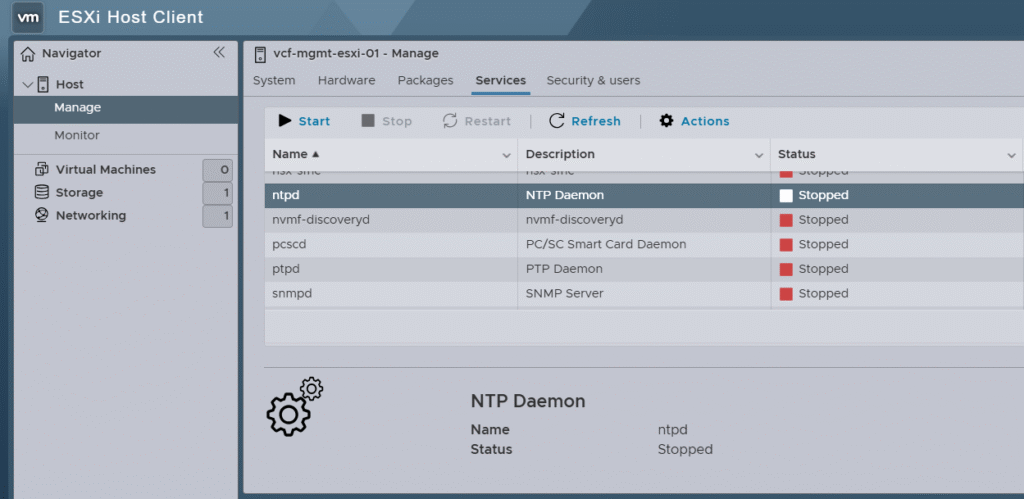
Next you need to start the ntpd service to make sure the ESX host time is synchronized with your NTP server.
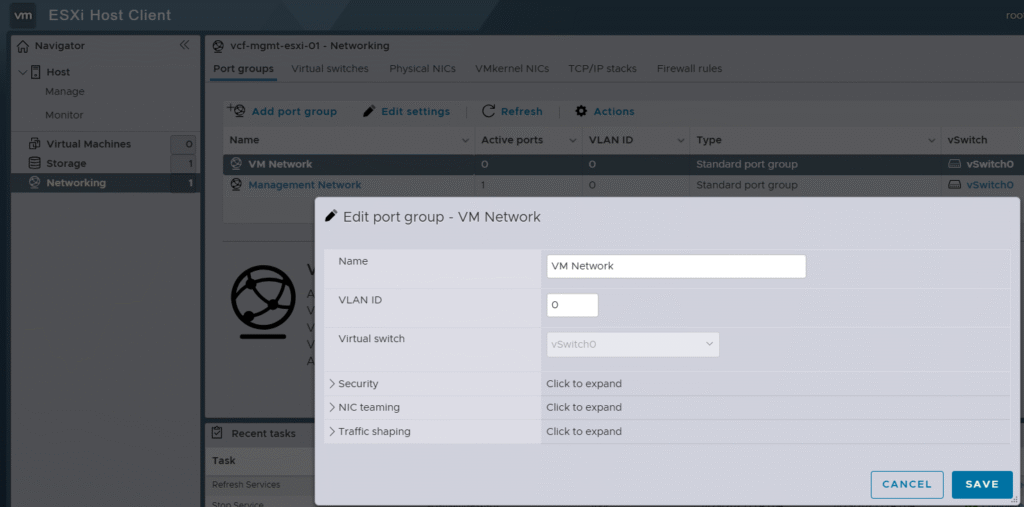
Step 4: Configure the VM Network portgroup on the ESX host
Configure the Virtual Machine Network port group for each ESX host by using the VMware Host Client.
You configure the VLAN ID of the VM Network port group on the vSphere Standard Switch. This configuration provides connectivity to the VM Management network to allow communication during the automated deployment.
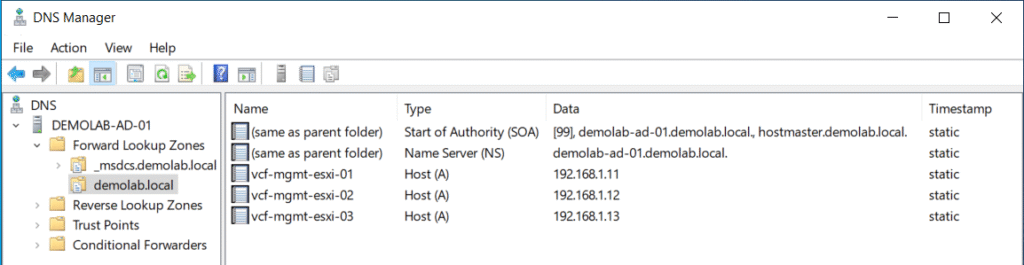
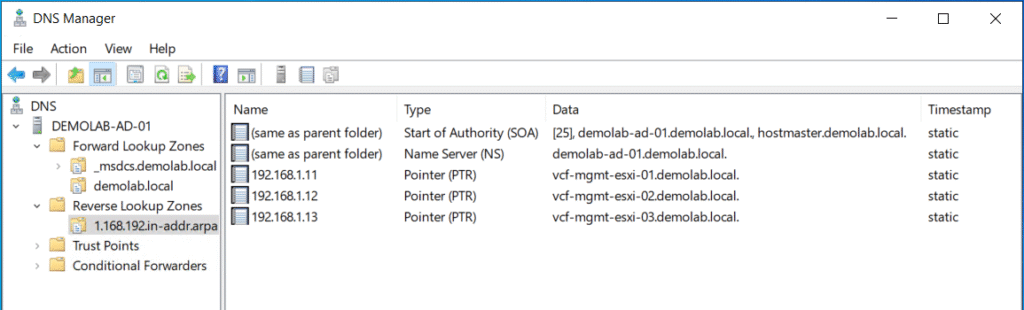
Step 5: Add Forward/Reverse DNS records for ESX Hosts
For each ESX host, you need to add static A and PTR DNS records corresponding to the assigned management IP addresses for the hosts.
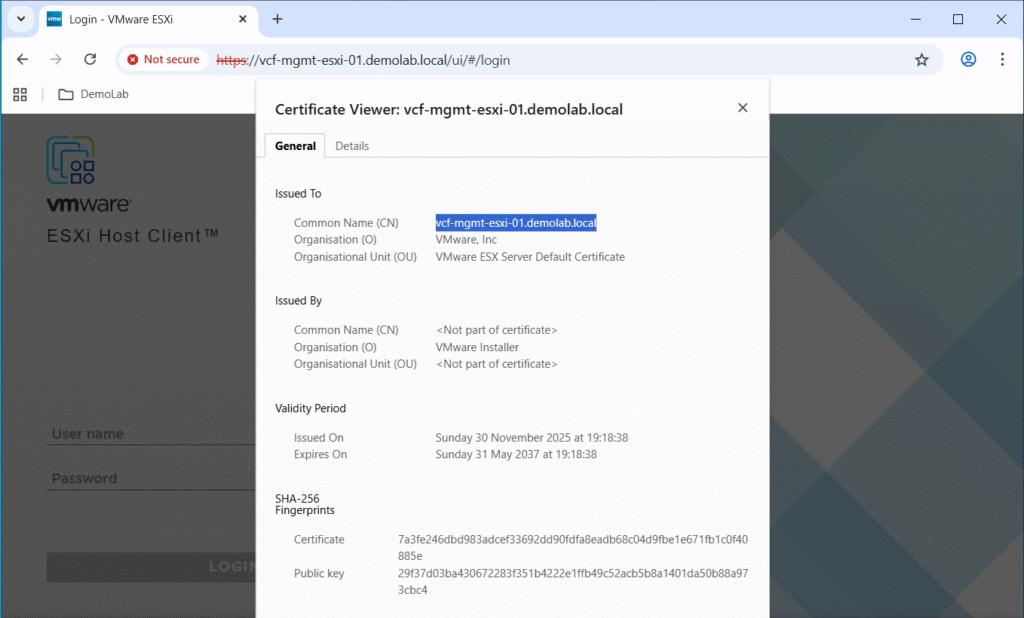
Step 6: Regenerate the Self-Signed Certificate on ESX hosts
During the installation of ESX, the installer generates a self-signed certificate for each ESX host, but the process is performed prior to the ESX hostname being configured. This means all ESX hosts have a common name in their self-signed certificate of localhost.localdomain.
All communication between the VCF Installer and the ESX hosts is performed securely over HTTPS and as a result it validates the identity when making a connection by comparing the common name of the certificate against the FQDN provided within the VCF Installer deployment wizard.
To ensure that the connection attempts and validation do not fail, you must manually regenerate the self-signed certificate after the hostname has been configured.
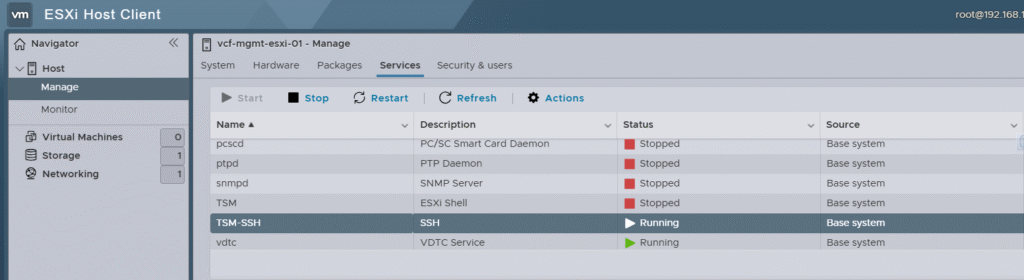
First enable SSH service to the host.
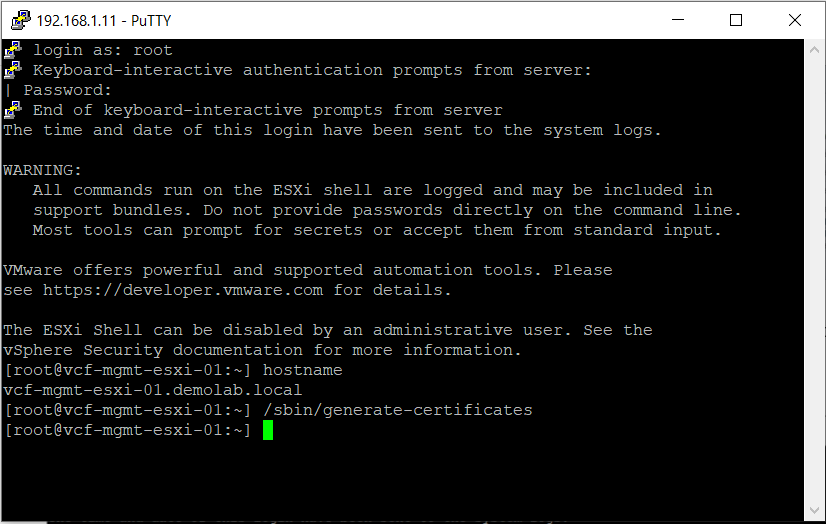
Log in to the ESX host using an SSH client such as Putty, then regenerate the self-signed certificate by executing the following command: /sbin/generate-certificates
Now you need to reboot your ESX host to apply the changes.
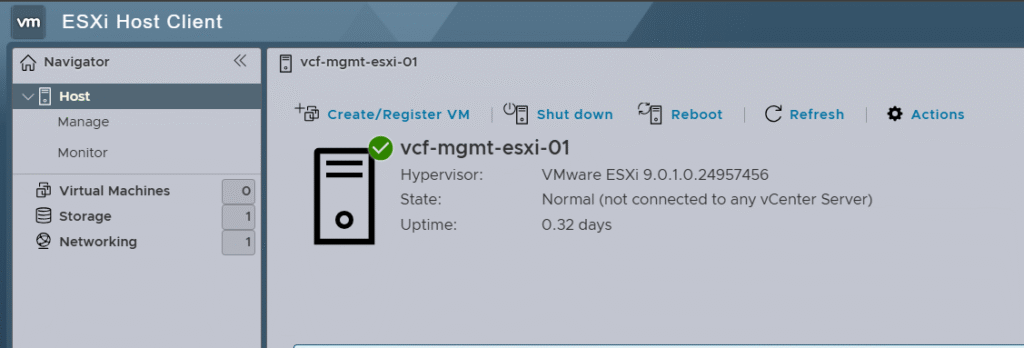
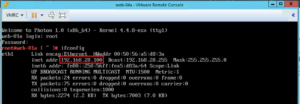
You can verify that the host certificate now reflects the host FQDN after regenerating the self-signed certificate instead of localhost.localdomain.
Step 7: Adjusting ESX Host Resources in my lab
As VCF Automation VM requires 24vCPU, I will make sure that 32vCPU is assigned to each of the 3 nested ESX hosts. To cater for the VMUG Advantage VCF license (A VMUG Advantage VCF license provides 128 cores for a one-year, non-production term), I will be tweaking the CPU configuration as per the below.
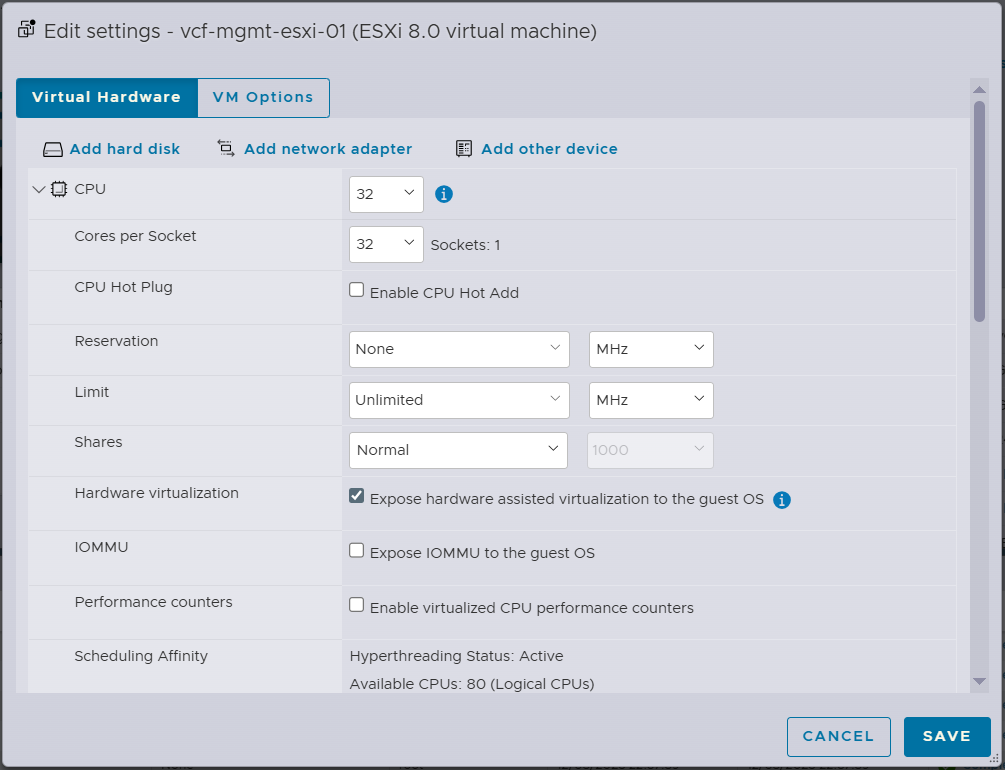
In addition, to optimize for ESX licensing, I will make sure that cores per socket is equal to the total number of vCPUs using the cores per socket advanced configuration key.

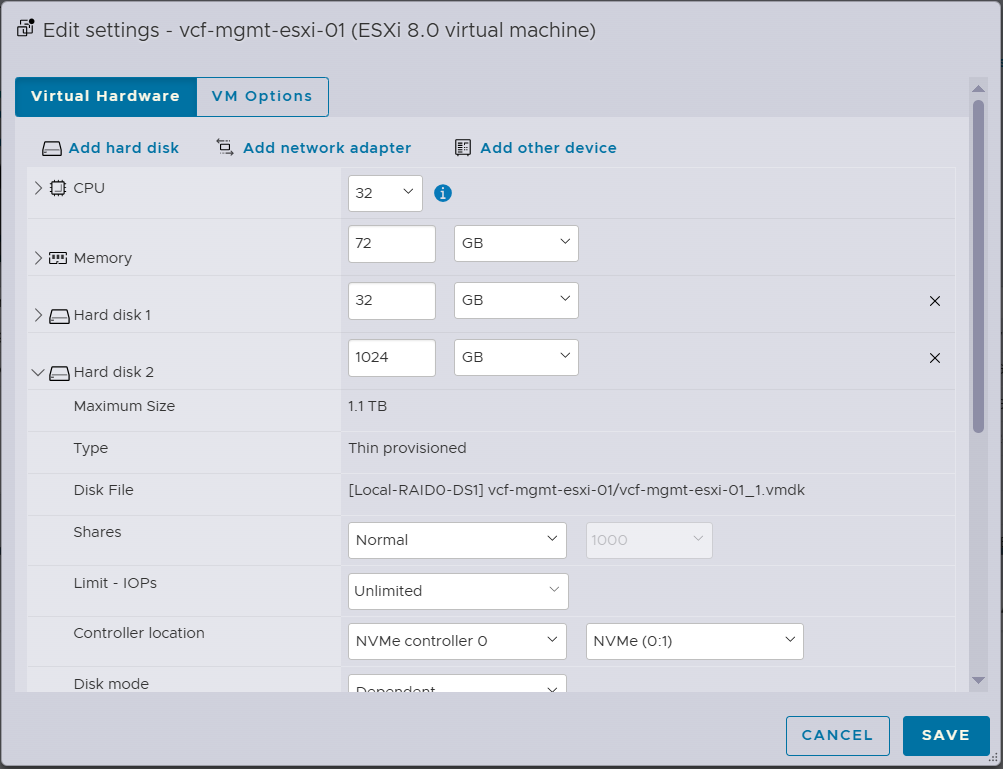
Regarding RAM resources, I will be assigning 72 GB RAM per nested ESX host to cater for the components that will be deployed in the VCF MGMT domain.
As I am planning to use vSAN ESA, I am using NVMe controller for all disks. ESX is installed on a 32GB disk while 1TB disk per host will be claimed by the vSAN ESA during bringup.
Each ESX host will have 2 uplink vNICs which will be used later on by a single VDS switch when the VCF installer migrates the vNICs from VSS to VDS switch.

Hope this post is informative,
Stay tuned for the next post in the blog series where we will deploy VCF installer appliance.
Thanks for reading,

 (1 votes, average: 4.00 out of 5)
![]() Loading…
Loading…