In this article, we’ll walk you through how to deploy your Next.js app on a VPS server. We’ll keep it simple and straightforward, perfect for when you’re ready to take your project live.
Static site generation (SSG) allows you to pre-render pages at build time
Export your Next.js app as static HTML files
Deploy to serverless platforms that handle the server-side aspects for you
However, some Next.js features (like API routes) require a Node.js runtime.If you already have an existing NextJS application stored in a git repository, you can use Git Deployment to connect your existing app to RunCloud to directly deploy your own application instead of creating a blank application.
Table of Contents
How to Deploy Next.js on Custom VPS Server
Prerequisites
While Next.js is versatile, there are scenarios where it might not be the best choice:
Simple static websites (overkill for basic HTML/CSS sites)
Applications requiring fine-grained control over the server (e.g., real-time apps with WebSockets)
Projects with strict size limitations (Next.js adds some overhead)
Electron or other desktop applications (though it can be used for parts of them)
Always consider your specific project requirements when choosing a framework.
Creating Web Application
Next.js can offer SEO advantages over a standard React application:
Server-side rendering provides fully rendered content for search engine crawlers
Automatic static optimization can create static HTML for better indexing
Built-in features like automatic sitemap generation and robots.txt support
These features make it easier to implement SEO best practices, but a well-configured React app with proper SSR can also achieve good SEO results.
Method 1: Creating an Empty Application
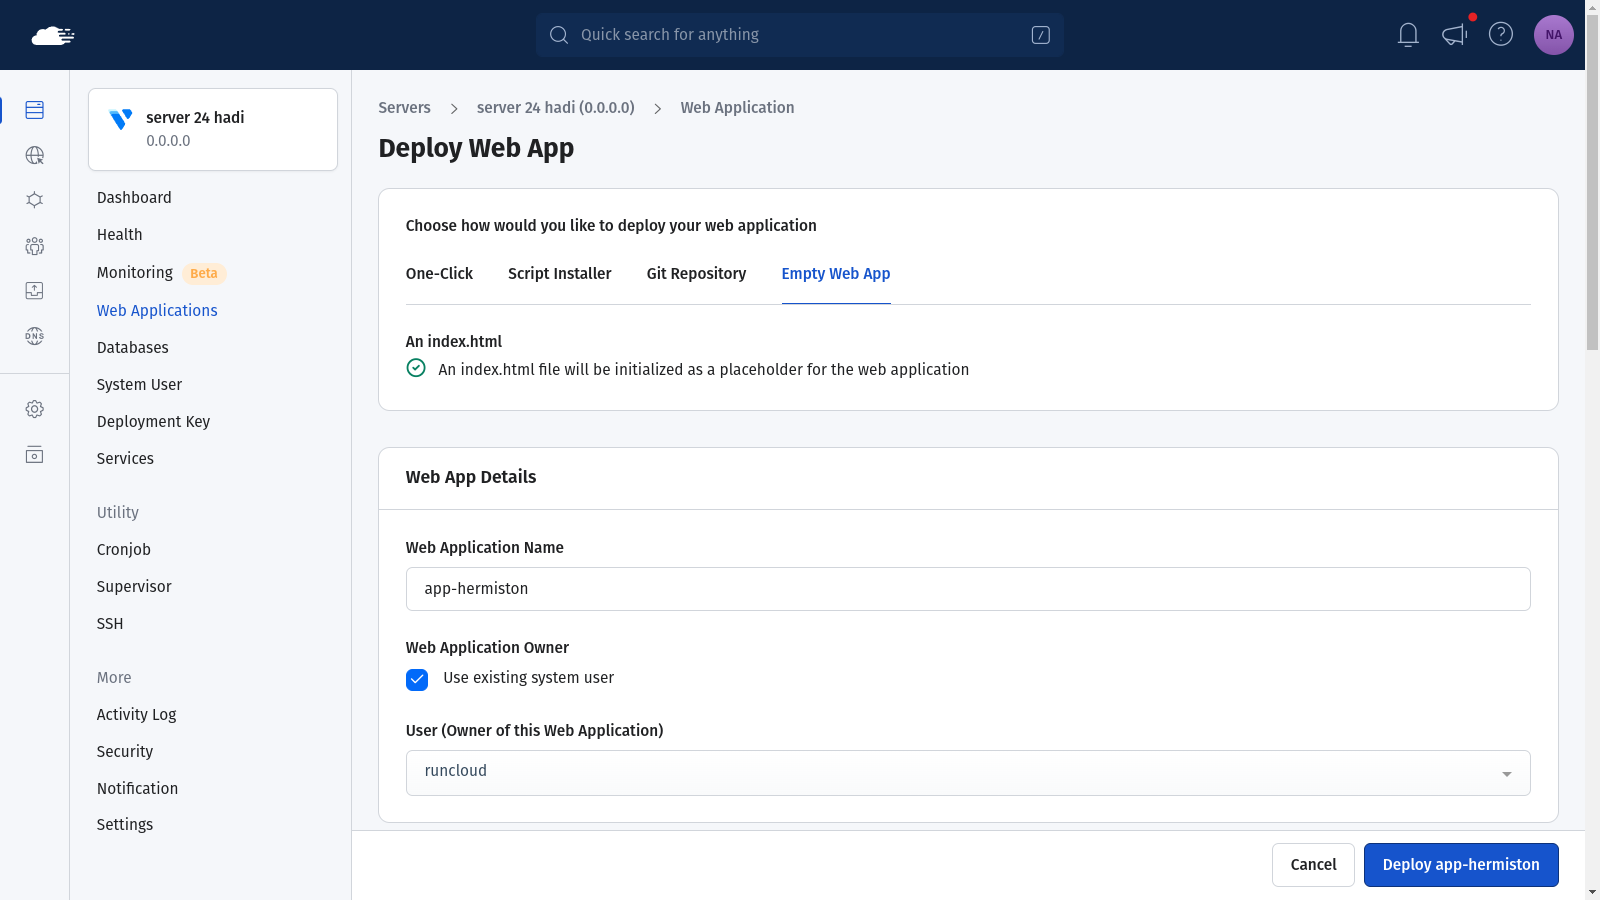
First things first, we’ll create an empty web app where you can add your custom code and other assets for your website. Log into your RunCloud dashboard, navigate to the “Web Applications” section, and click on “Create Web Application“. Switch to the “Empty Web App” tab to create a blank application, give your web app a name that describes your project. You can configure other basic details such as domain name and tech stack or just leave them as default – you can always change them later.
There are multiple ways to deploy your web application to RunCloud servers, let’s take a look at each of them.
Method 2: Deploy Using Git
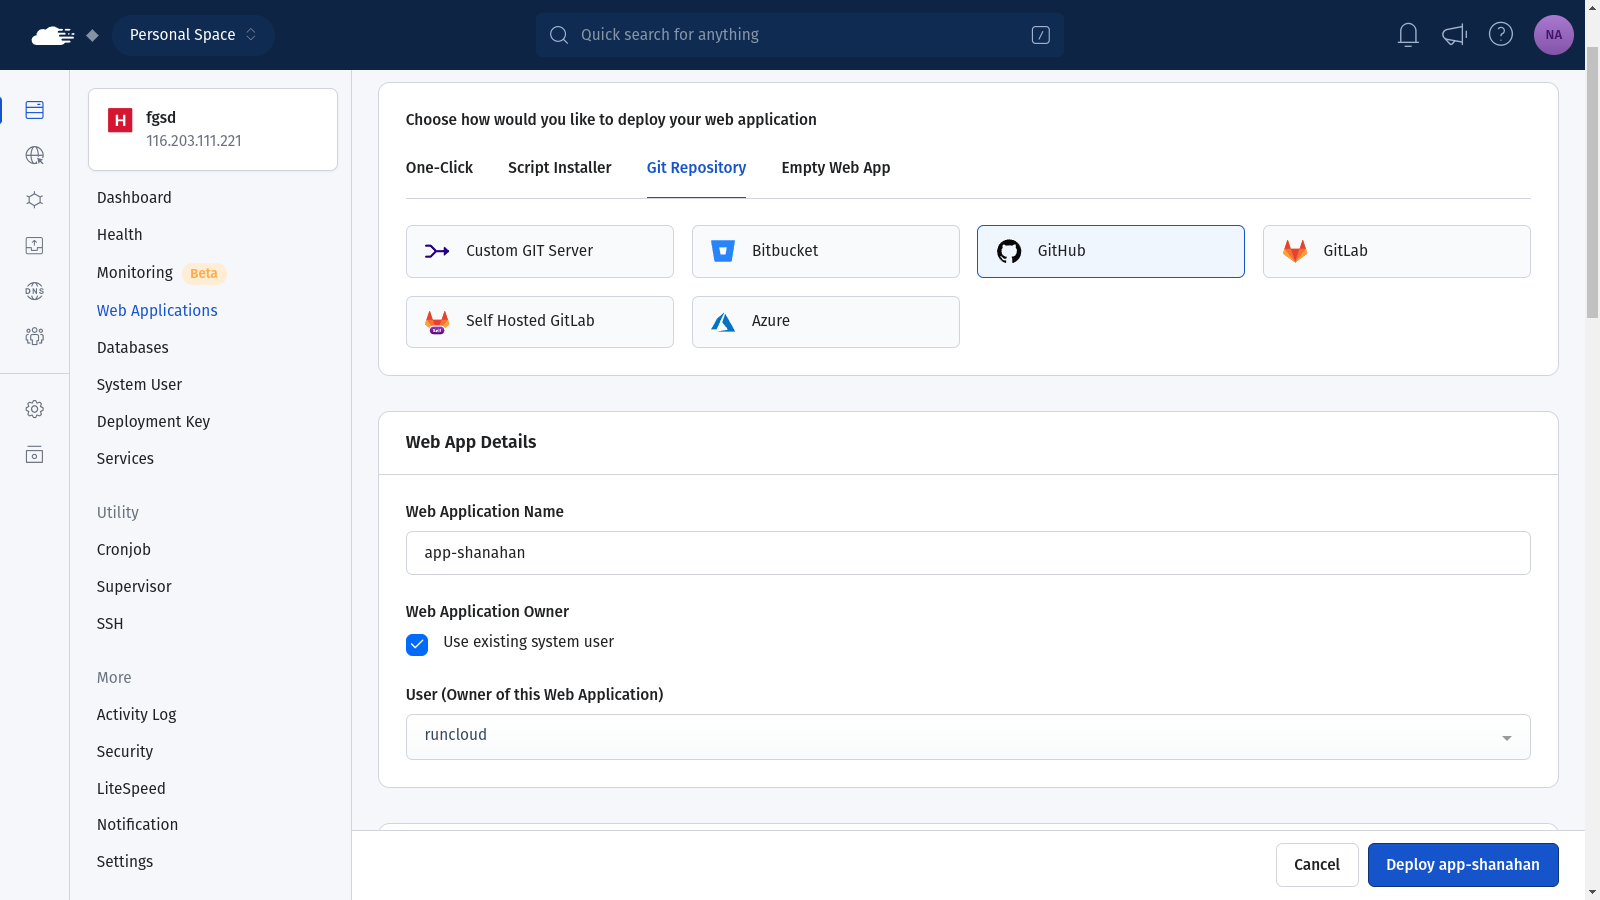
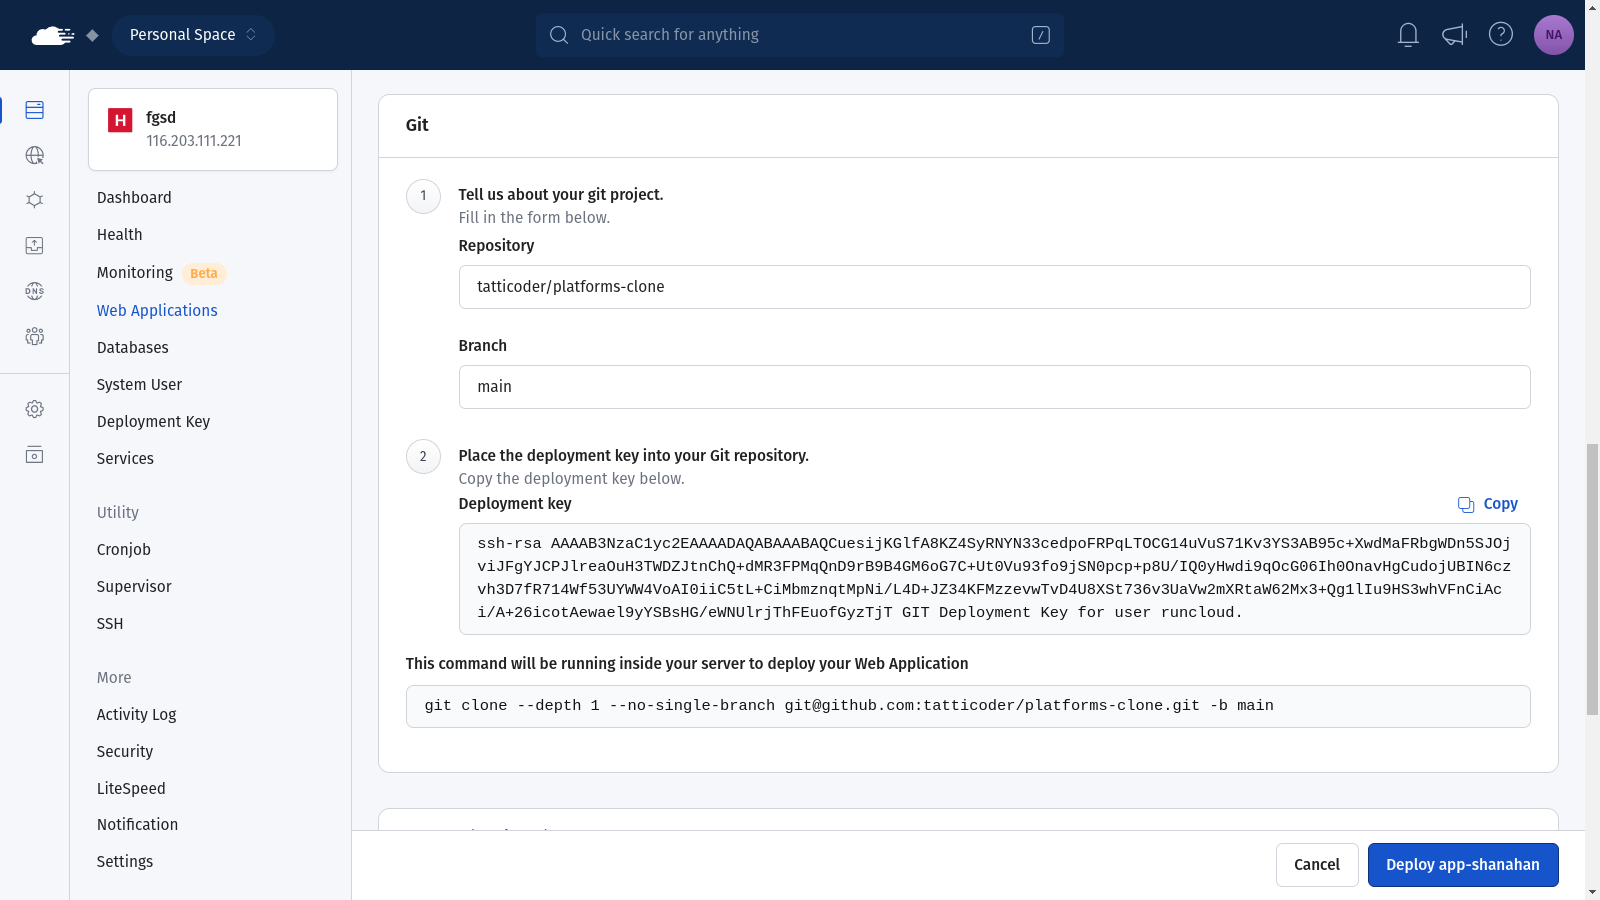
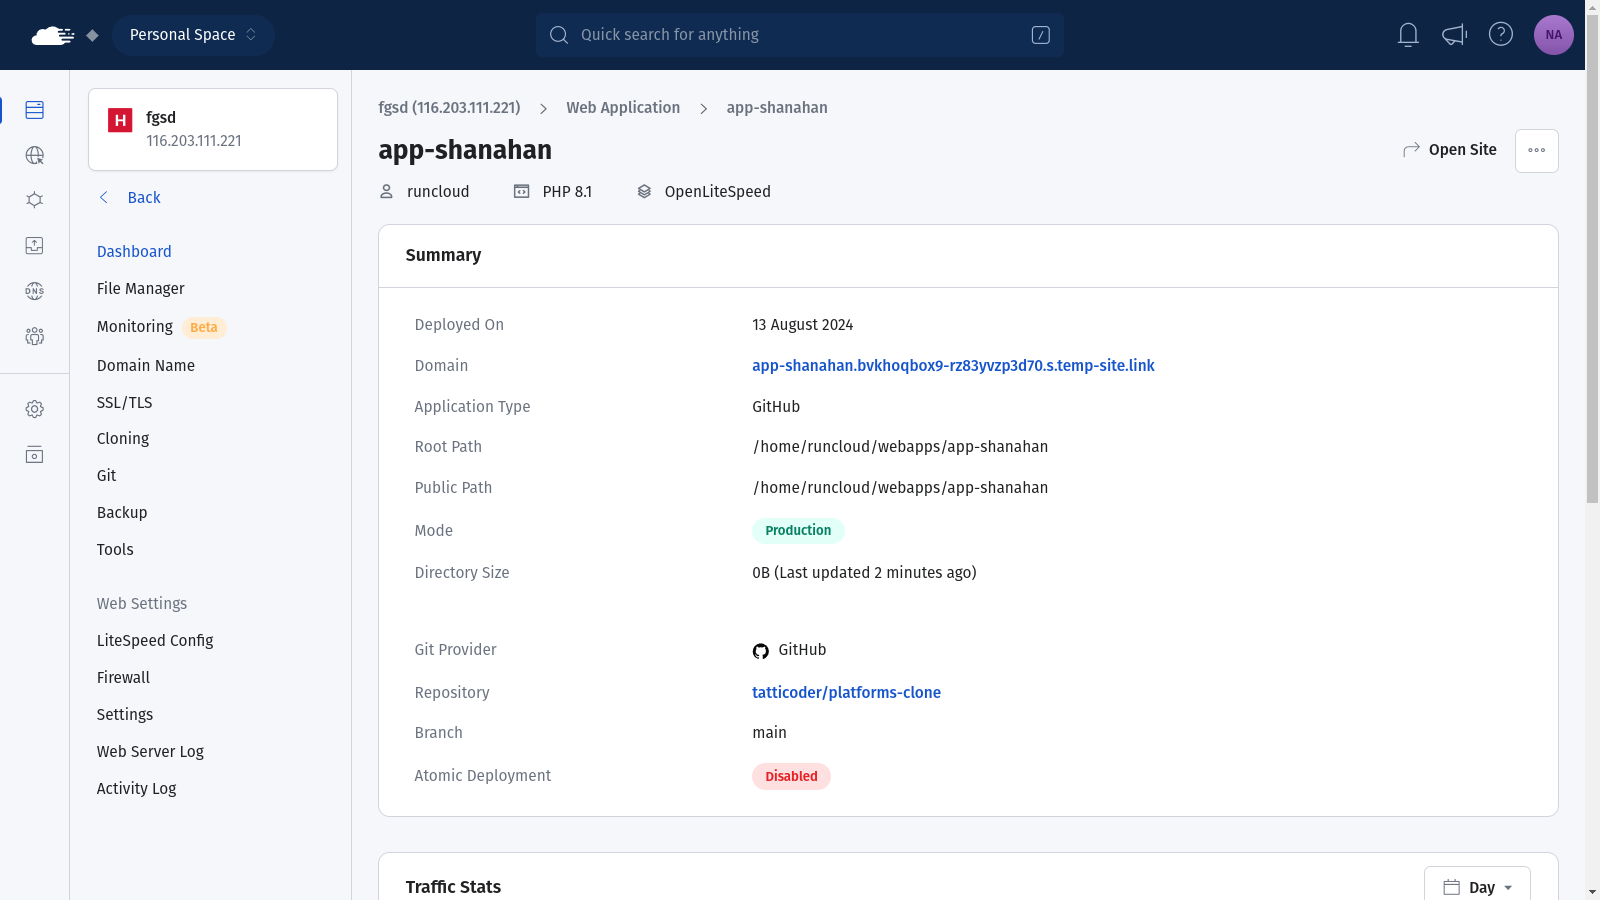
If you find yourself facing any permission issues during this process, then you should double-check that you’re using the correct user for your web application. Additionally, if you don’t see your homepage when you visit your domain, then you can pop back into your RunCloud dashboard and verify that the public directory is set to the folder where your build files are stored. Once you have added the deployment key to your Git repository, you can go back to your RunCloud dashboard and deploy your web application. Once your application is deployed, you will see a screen similar to the following screenshot. After you have configured the Git Deployment on your server, you can consider enabling Atomic deployment to automatically deploy new versions of your application when a new commit is published.
You might know how to build a Next.js application, but do you know how to deploy it on a server? If your answer is no, then you’ve come to the right place.
Next.js allows you to build a fast website, but the big question is: where to deploy your Next.js app? There are lots of options out there for hosting, but in this guide, we’re going to focus on using a VPS (Virtual Private Server) as it gives you more control and flexibility.
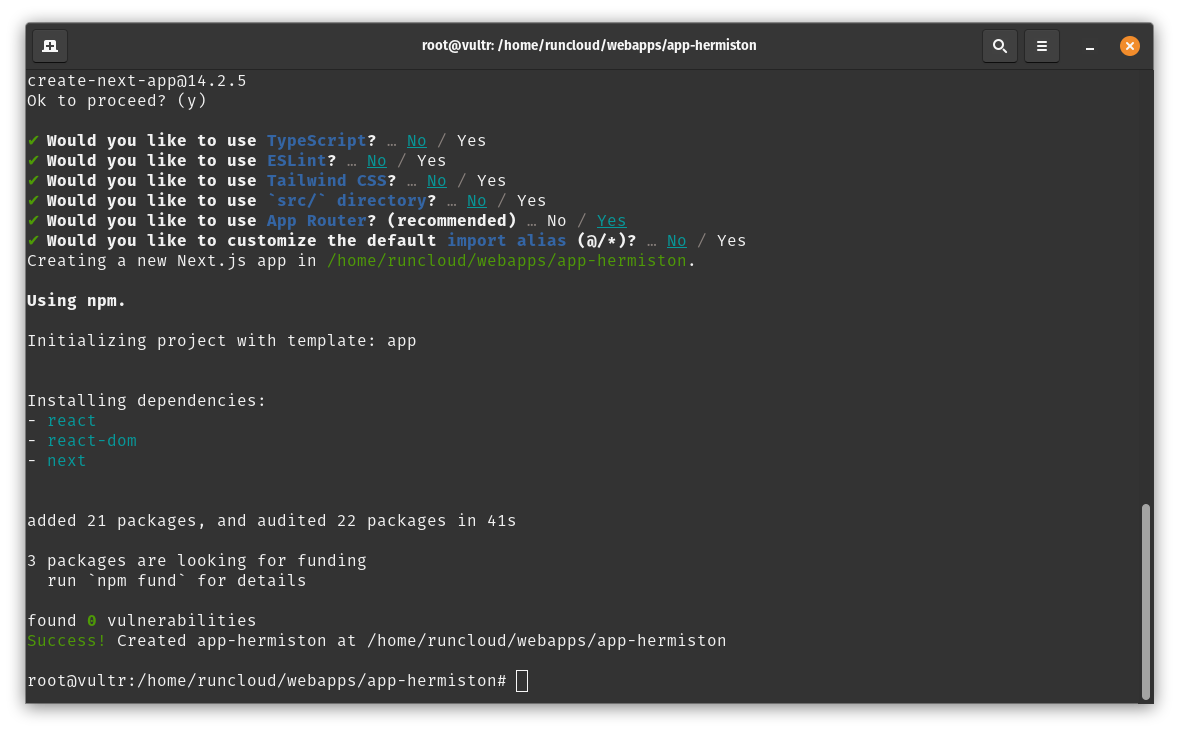
Once you have deleted the default files, you can start adding your custom code to this website. Run the npx create-next-app . command in your terminal to set up a new Next.js app in the current directory. RunCloud already comes with NodeJS pre-installed, however you have the option to install a custom version of Node JS if your application requires it.
Yes, Next.js has excellent support for serverless deployment:
Platforms like Vercel (created by the Next.js team) offer native serverless deployment
AWS Lambda, Google Cloud Functions, and Azure Functions can host Next.js apps
Serverless Next.js component for AWS CDK deployment
Netlify and other JAMstack platforms support Next.js serverless functions
Serverless deployments can offer benefits like automatic scaling and reduced operational overhead.With our web app created, it’s time to access your server, open up your terminal or SSH client and connect to your VPS using SSH by typing ssh username@your_server_ip and pressing enter. If you need step by step instructions for this process, you can refer to our documentation which explains How To Connect to Your Server via SSH.
Installing Next.js Application Dependencies
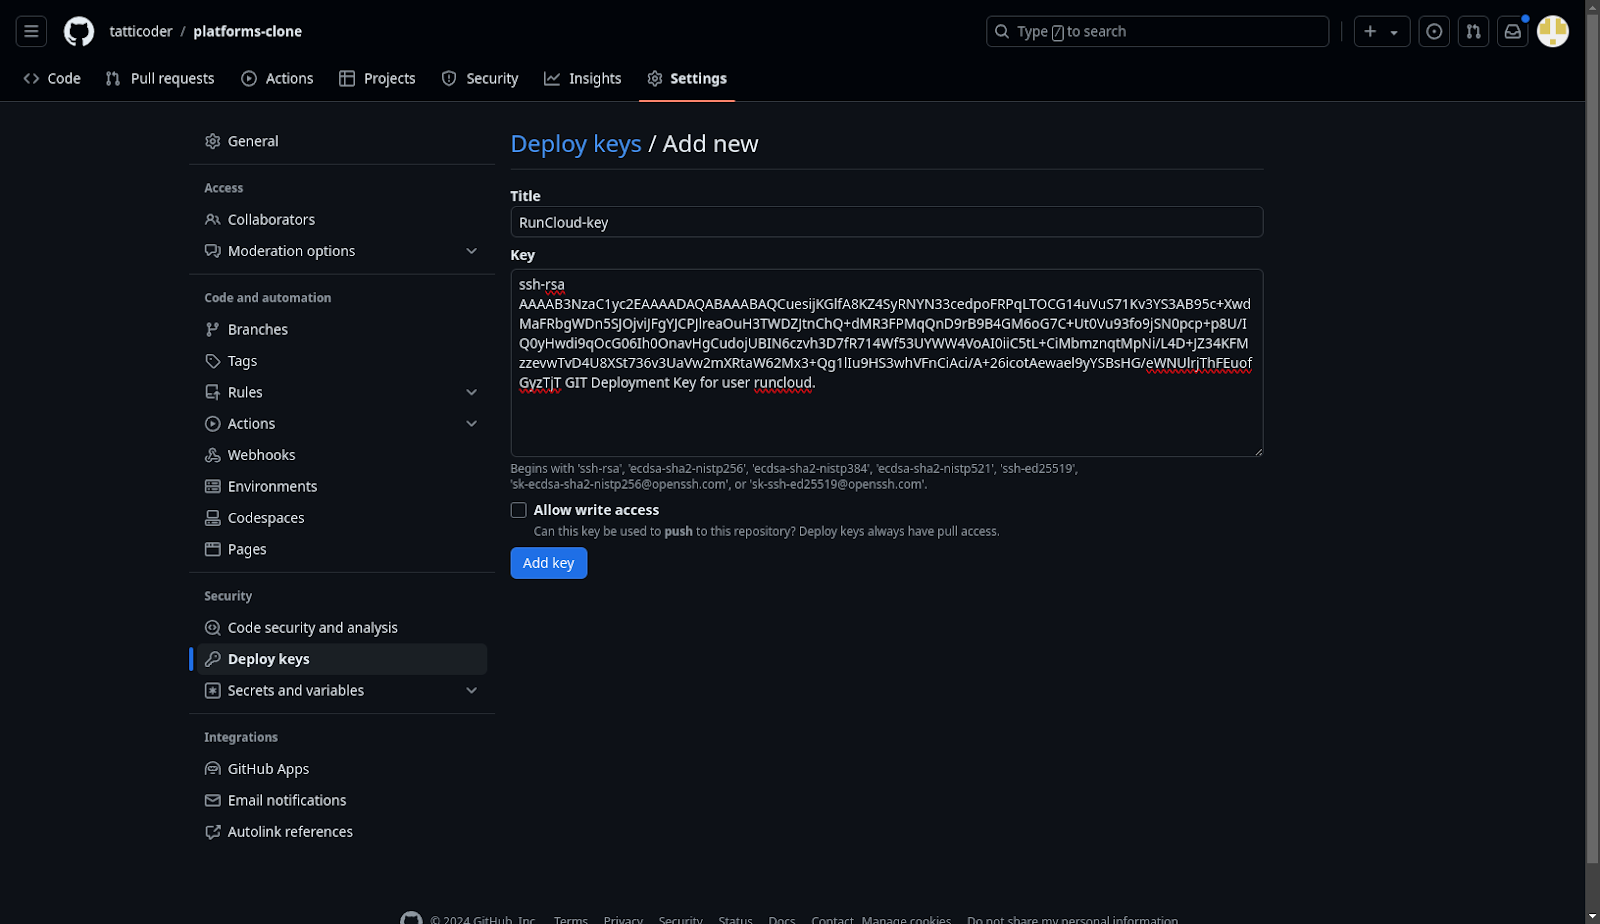
On GitHub, you can add a deployment key by navigating to “Settings > Deploy Keys”. On this screen, you need to provide a suitable title for your deployment key and paste the key that you copied from RunCloud dashboard. Click on “Add Key” to save this key to your repository.
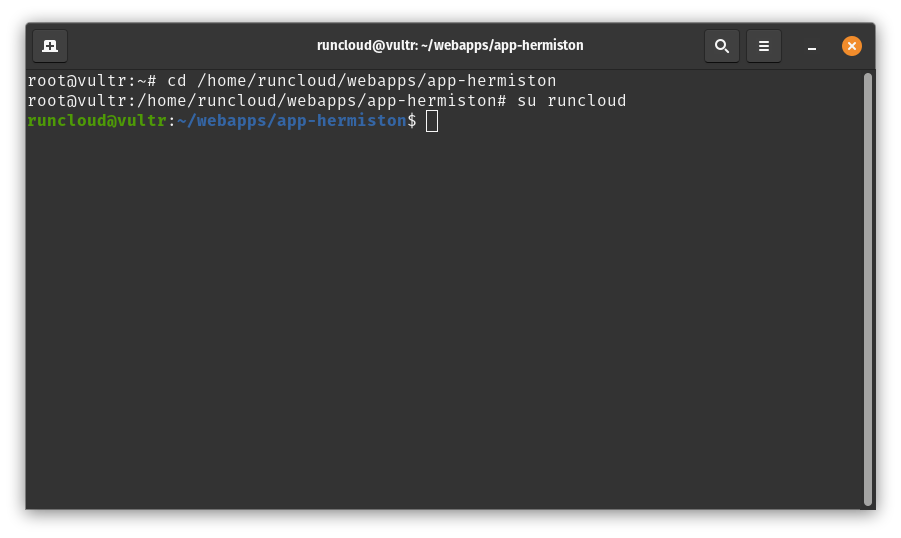
Before creating the app, we’ll switch to the web app user with su <username> command to ensure we have the right permissions. Don’t forget to replace <username> with the actual username of the system user displayed in your RunCloud dashboard. In the following example, the name of the user account is runcloud.
Finally, we need to install all the dependencies and build the app to create a production-ready app which optimizes the resources and compresses necessary dependencies. Run npm install command and npm run build to bundle everything into the build directory.
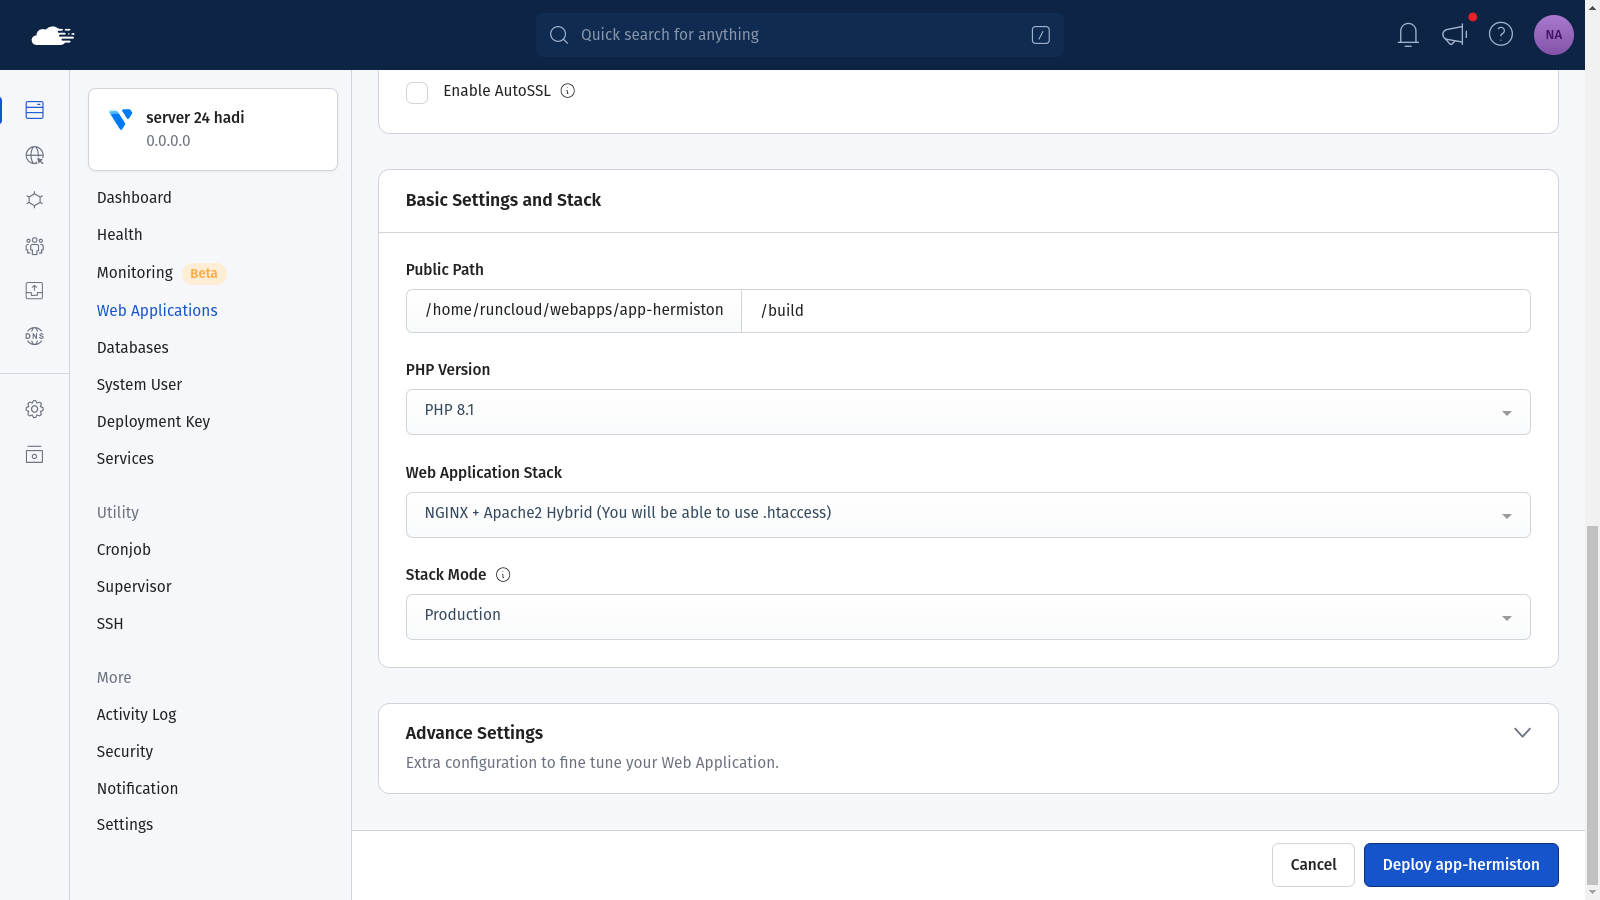
In the basic settings section, set the public folder to /build – this is where your website will be served from. If you are using a custom build directory in your project, you can replace this with the path of your directory. After configuring the app, you can click on “Deploy” to save the changes.Ready to get started? Let’s dive in and get your Next.js app online!
Wrapping Up
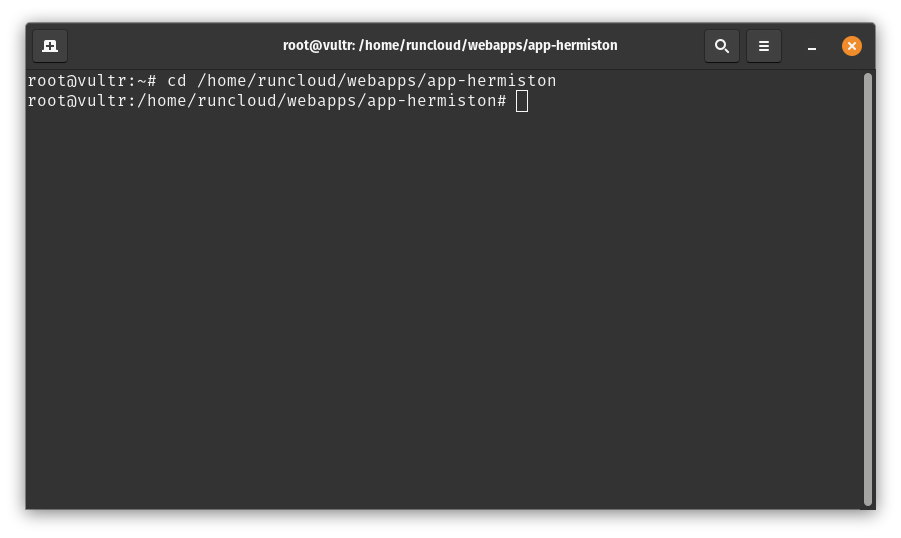
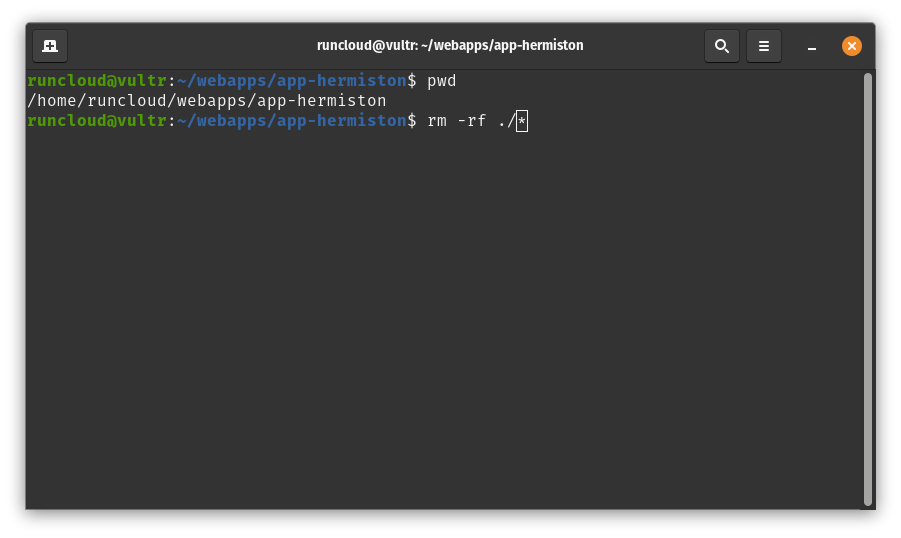
RunCloud takes the complexity out of server administration, allowing you to focus on what really matters – creating amazing web applications. Start using RunCloud today!Now that we’re on the server, you need to navigate to the root directory of your web application. Run cd <root-path> and replace <root-path> with the root path displayed in your RunCloud dashboard.If you have cloned your existing repository, then you can skip this step. Before we start building our Next.js app, we need to clear out the default web page created by RunCloud. You can run the pwd command to make sure that you are in the correct directory before deleting the files via terminal. If you are not sure, you can always use the RunCloud file manager to manually delete the files. To permanently delete the default files, run rm -rf ./* in the root of your web application. This command deletes the default index.html and any other files that might be created during application initialization.
FAQ on Next.js Deployment
Is Next.js faster than React?
Does Netflix use Next.js?
Is Next.js better for SEO than React?
Can you use Next.js without a server?
Can Next.js run serverless?
Server-side rendering (SSR) can lead to faster initial page loads
Automatic code splitting reduces bundle sizes
Built-in image optimization enhances loading speeds
Static site generation (SSG) can dramatically improve performance for static content
However, a well-optimized React app can also be very fast. The performance difference depends on the specific use case and implementation.

