Why would you do this?
Table of Contents
How to Find the Current DNS Server in Linux
dig @8.8.8.8 runcloud.io
If you want a simpler way to manage Linux servers and avoid repetitive configuration work, RunCloud gives you a clean dashboard for deployments, updates, backups, and security.
Step 1: Open the Terminal
You now know how to check your DNS server from both the terminal and GNOME, as well as how to test any DNS provider using the dig command.First, open the terminal application. You can find it in your applications menu, or use the common keyboard shortcut: Ctrl + Alt + T.
Step 2: Check the resolv.conf File
After identifying your DNS server, it’s possible that you are not completely satisfied with it. If you are facing network issues, you can bypass your local settings entirely and request a website’s IP address from any public DNS server worldwide.If you prefer clicking over typing, Linux desktop environments like GNOME provide a user-friendly way to see your network settings.If a site loads for others but not for you, your DNS server might be out of date, overloaded, or applying filters. Querying a public DNS server gives you a clean comparison.

dig @<DNS-SERVER-IP> <WEBSITE-TO-LOOKUP>
Look for the line that starts with nameserver. The IP address immediately following it is the DNS server your system is configured to use. In this example, the DNS server is 192.168.0.1.This will open up a new window, where you can enter your commands. If you are connected to the server via SSH, then you don’t need to take any additional steps. You can type your commands in this shell, as it is the terminal itself.

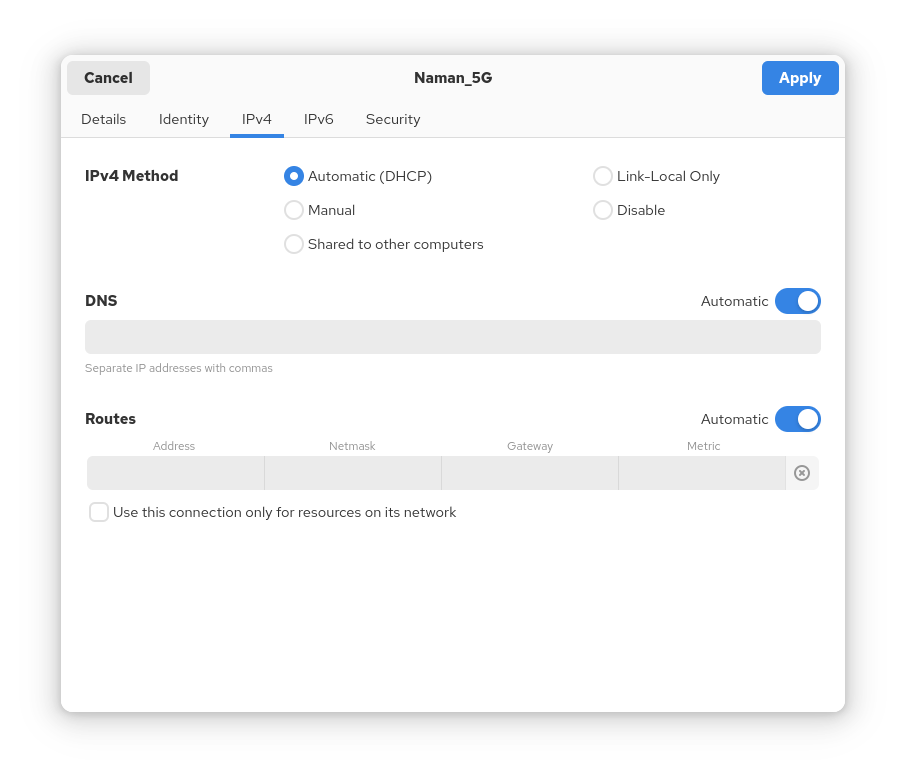
DNS translates domain names into IP addresses so your system knows where to connect. This guide shows you how to check which DNS server your Linux machine is using, both in the terminal and the GNOME interface, plus a quick way to query a specific DNS server.To see why you have this DNS server, click on the IPv4 tab at the top of this same window.
Method 2: Find The DNS Server in Linux Using The GNOME Graphical Interface
A new window will pop up with several tabs. It will open on the Details tab by default. Here, you can immediately see a summary of your connection. Look for the DNS entry to find your server’s IP address.
Step 1: Open Your System Settings
The IP address you found using the methods above is the default DNS server for your system. However, it’s essential to note that some applications may opt to disregard it and use their own. Before you spend hours troubleshooting, be aware of these common overrides:
Step 2: Go to Network Settings
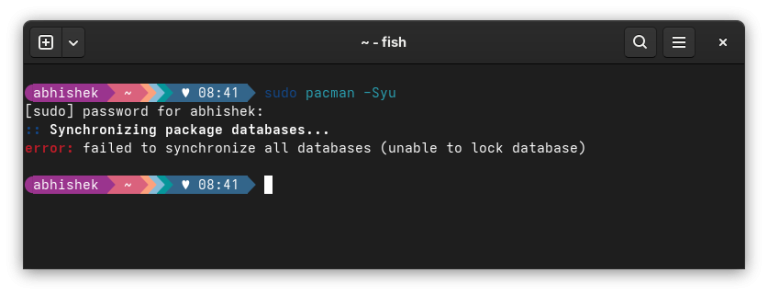
cat /etc/resolv.conf
The Linux terminal is an incredibly powerful tool, and for tasks like this, it’s often the fastest way to get the information you need. You can get this information quickly with a single command. Follow the steps below to get started:
Step 4: Find Your DNS Entry
Click on the system tray area in the top-right corner of your screen, where you see the icons for Wi-Fi, volume, and power. In the menu that appears, click the gear icon (⚙️) to open the Settings window.

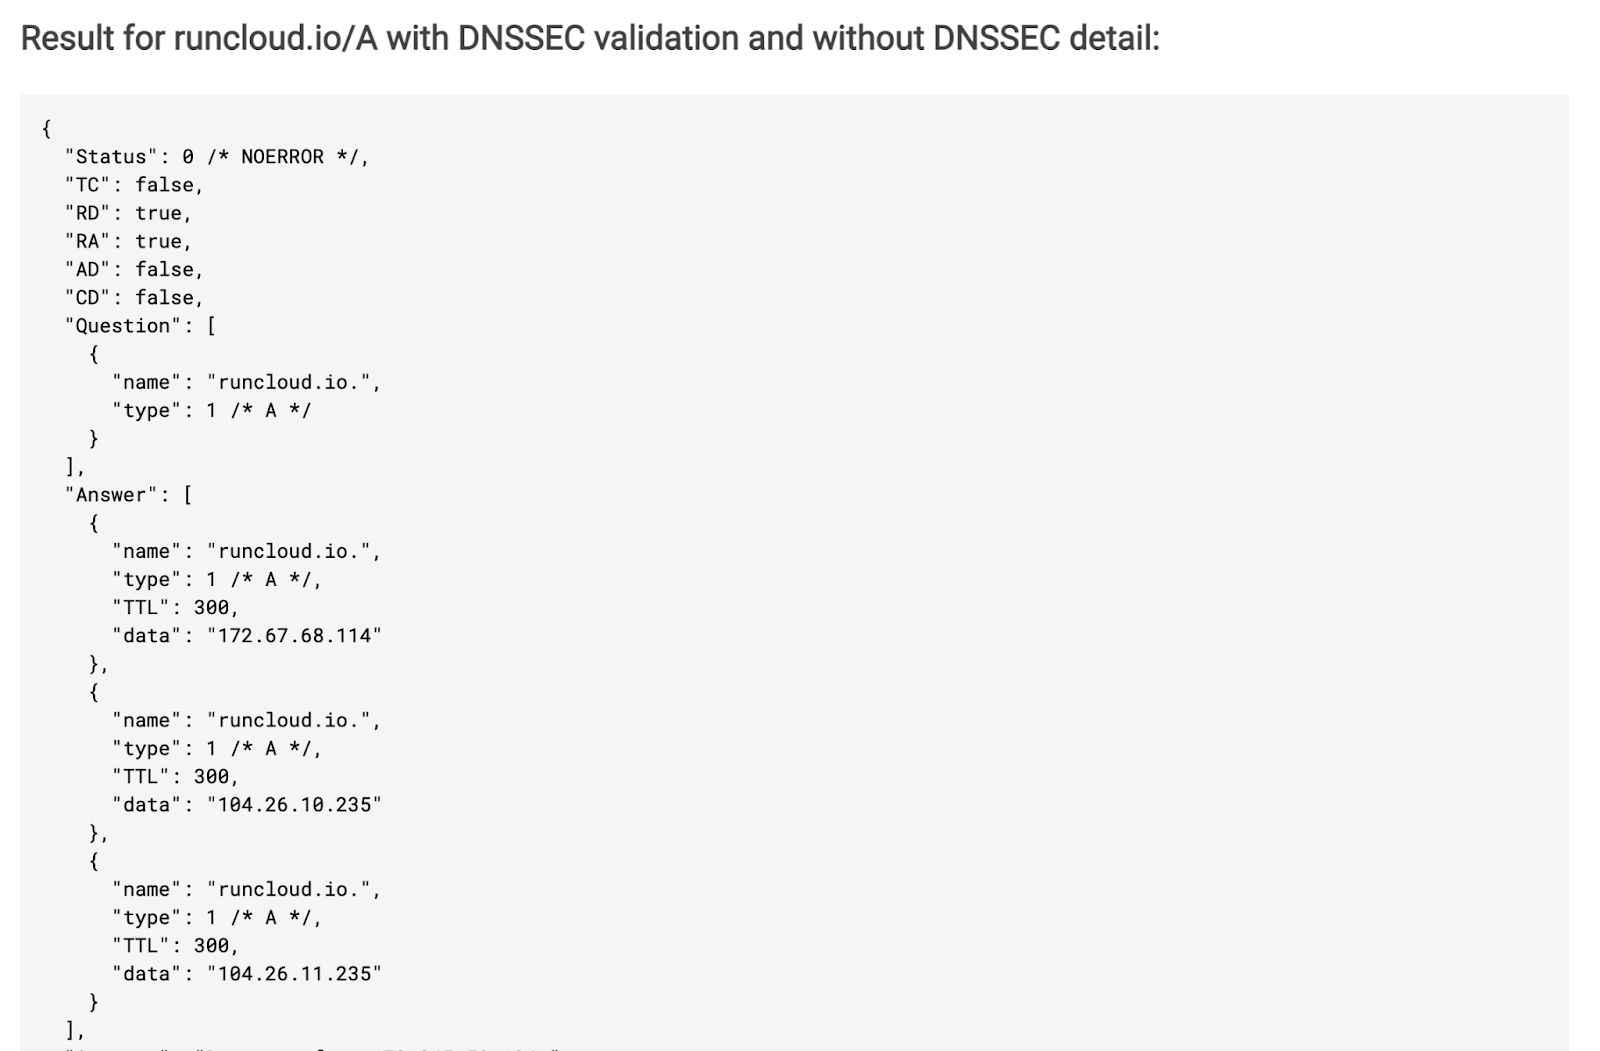
Let’s ask Google’s public DNS server (8.8.8.8) for the IP address of runcloud.io. Open your terminal and run this command:
Step 5: Understanding the “Automatic” Setting
This will display the raw DNS information in a format that computers prefer (called JSON), making it easy to spot the IP address in the “data” field. It’s a great alternative if you’re not in front of a terminal.There are two ways to view the DNS server settings in Linux. Let’s take a look at both of them:In the Settings window, look at the menu on the left-hand side. Click on either Wi-Fi or Wired, depending on your connection method.
runcloud.io.                300        IN        A        104.26.10.235
runcloud.io.                300        IN        A        104.26.11.235
runcloud.io.                300        IN        A        172.67.68.114
You will now see a list of available networks. Find the network you are currently connected to (it will be the one that’s toggled on). To the right of its name, click the gear icon (⚙️) to open its specific settings.As you can see, the DNS is listed as 192.168.0.1, which matches what we found in the terminal.In your terminal, type the following command and press Enter:Most systems use DNS settings provided automatically by the router (via DHCP). Switching to Manual lets you specify your own DNS server. If you want to manually set a different DNS server (such as Google’s 8.8.8.8), toggle this switch off and enter the new IP address into the field.
- dig: The command to run the tool.
- @<DNS-SERVER-IP>: The @ symbol tells dig, “direct your question to this specific server.” Replace <DNS-SERVER-IP> with the IP address of the server you want to query, such as @8.8.8.8 for Google.
- <WEBSITE-TO-LOOKUP>: The domain name you want the IP address for, like runcloud.io.
Scroll down until you find the ;; ANSWER SECTION:. This is the response from the DNS serverNotice that the DNS setting has a switch toggled to Automatic. This setting, along with the Automatic (DHCP) option for the IPv4 Method, instructs your computer to accept the network settings provided by your router automatically.

In the above example, the computer is using three different DNS servers with the following IP addresses: 1.1.1.1, 8.8.8.8, and 9.9.9.9, which belong to Cloudflare, Google, and Quad9, respectively.Suggested read: How to Speed up DNS PropagationIf you prefer a graphical interface, Google offers a simple web tool that performs the same function. You can visit https://dns.google/ to see the same query we just ran, but in your browser.DNS checks are only one part of managing a server. RunCloud provides an easy and reliable way to deploy and manage Linux servers without manual configuration. It handles security, updates, monitoring, and performance tuning, so you can focus on your applications.
When Applications Bypass Your System DNS
If you have explicitly defined the DNS servers in your network configuration, then you might get an output similar to the following image:
- DNS-over-HTTPS (DoH): Modern browsers can use DNS-over-HTTPS, which bypasses your system DNS for privacy. VPNs also override DNS to keep traffic secure.
- Virtual Private Networks (VPNs): When you connect to a VPN, it almost always forces your computer to use its own private DNS servers. This is a critical security feature. If your computer uses your regular DNS while connected to a VPN, your internet service provider may still be able to see which websites you’re trying to visit, defeating a key purpose of the VPN.
Next Steps for DNS Management
Suggested read: What is DNSCreate your free RunCloud account and streamline your server workflow.It is a simple and reliable method for finding your DNS information. For this step, we will use the cat command, which simply reads a file and displays its contents on the screen.If you see an address like 192.168.0.1, your system is using your router for DNS, which then forwards the request to your ISP. This is a very common and default setup.