One of the customer requirements I have been asked to do a couple of days ago is to filter the transit subnets from being re-distributed from the NSX-T domain to the upstream physical router.
When you attach a tier-1 logical router to a tier-0 logical router, a router-link switch between the two routers is created. This switch is labeled as system-generated in the topology. The default address space assigned for these tier-0-to-tier-1 connections is 100.64.0.0/16. Each tier-0-to-tier-1 peer connection is provided a /31 subnet within the 100.64.0.0/16 address space.
In addition, when you have active-active Tier-0 SR with Inter-SR Routing enabled on the BGP Process of the T0 Gateway, both the SR Components establish an internal SR link between each other over an NSX managed subnet 169.254.0.128/25.
Such subnets are directly connected to the Tier-0 gateway and would be redistributed to the physical upstream router if you enable route redistribution for connected subnets.
Filtering such subnets would be beneficial especially when you have multi-tenancy with multiple Tier-1 gateways connected to Tier-0 gateway.
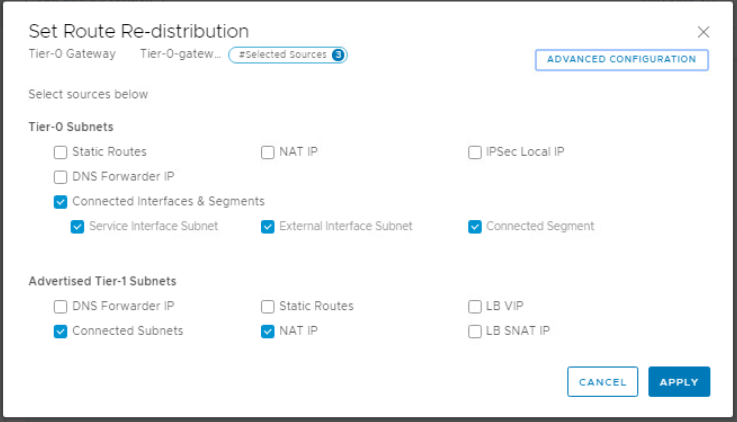
To filter such subnets, you can use IP Prefix lists which can be referenced in the Out/in filters in the BGP neighborship configuration.
Let’s create an IP Prefix list to deny these subnets and permit all others. Edit the created Tier-0 gateway and expand Routing section.
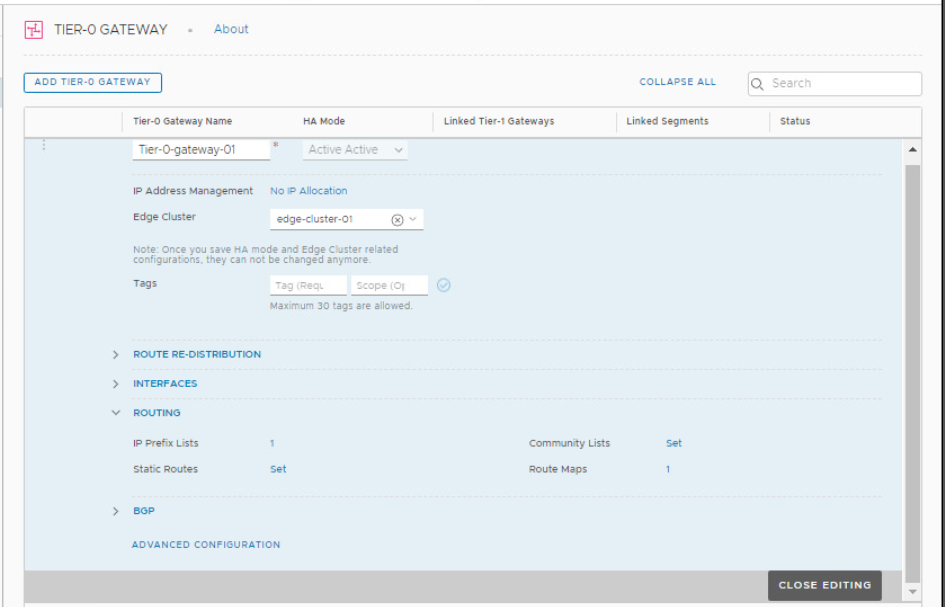
Click on the number beside IP Prefix Lists. Click on Add IP Prefix List to add a new list.
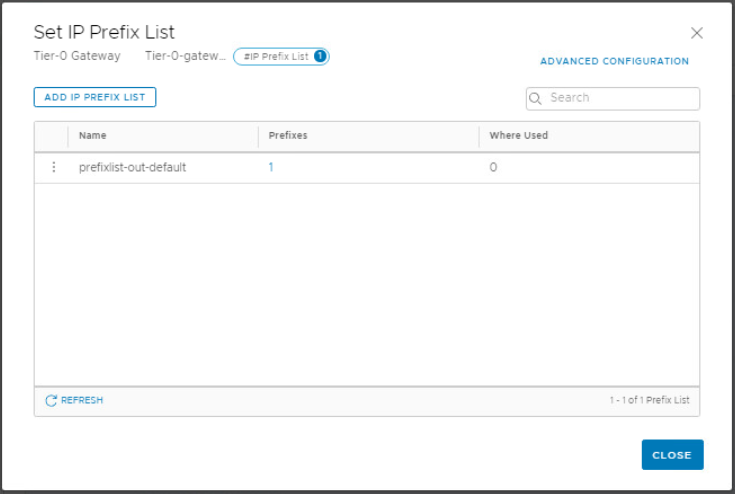
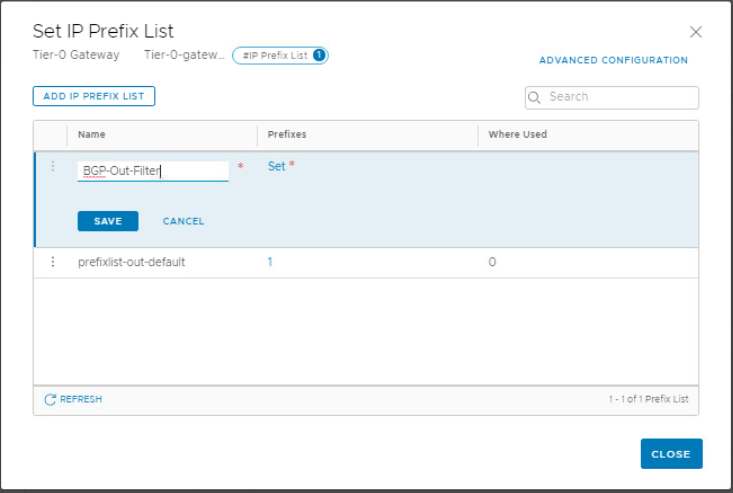
Choose a name for the prefix list and click on Set to add the subnets/action combinations.
Add the subnets to deny but don’t forget to add a permit any at the end to allow other subnets as the default action is deny.
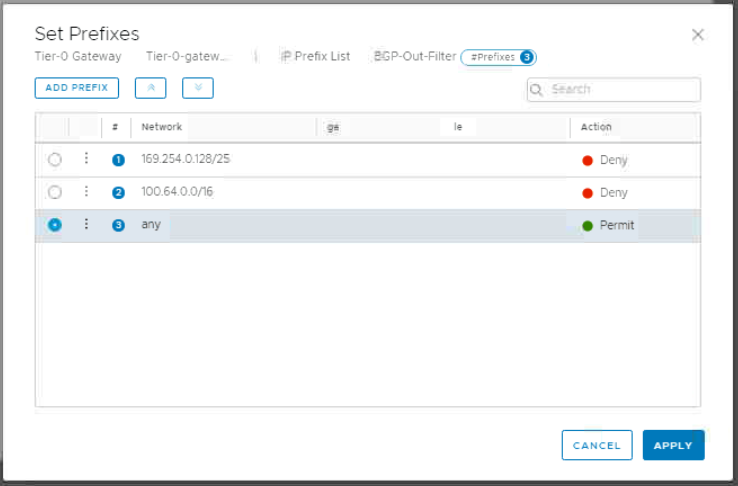
Click Apply and save your configuration.
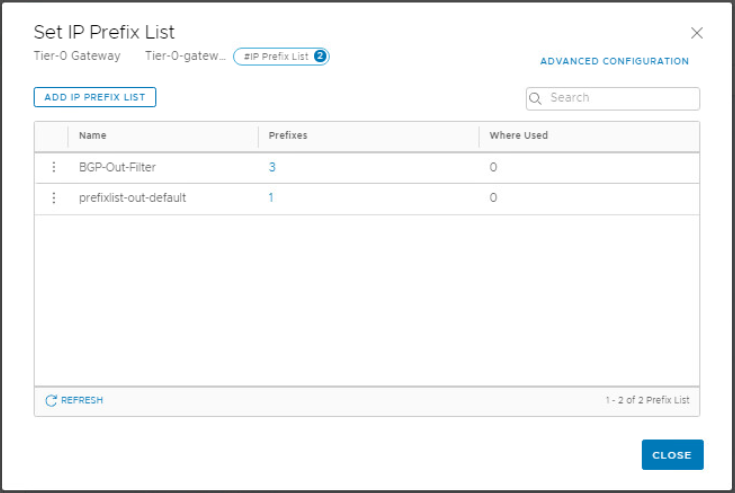
Expand BGP section and click the number beside BGP neighbors.
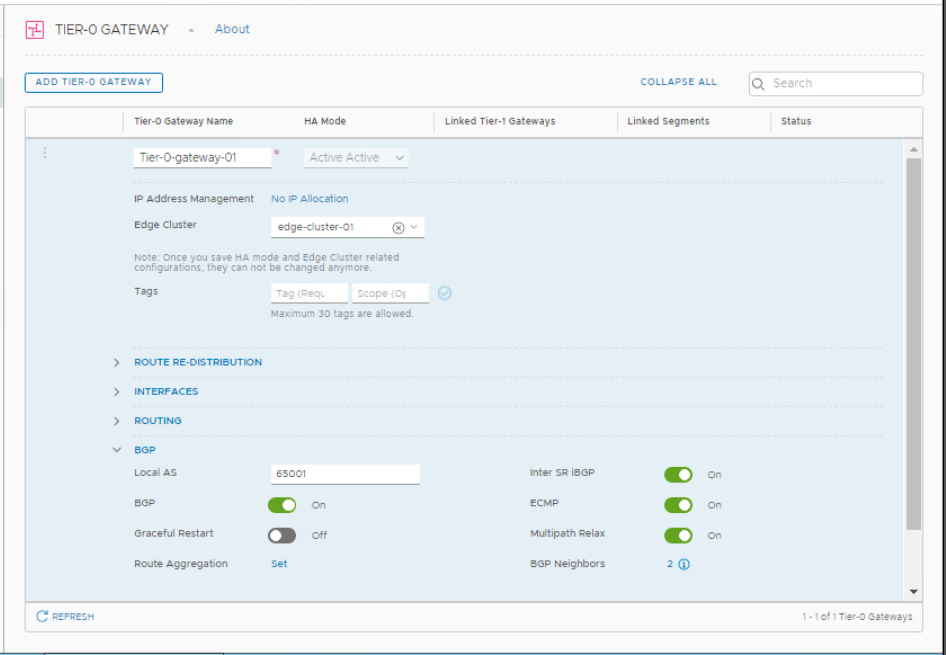
Edit the neighbor configuration and click on Configure Out Filter.
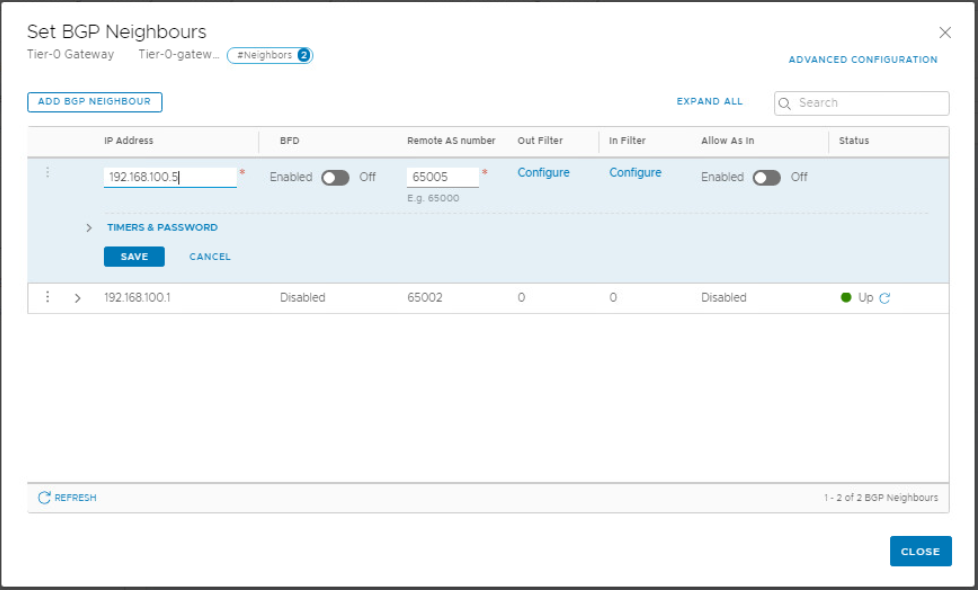
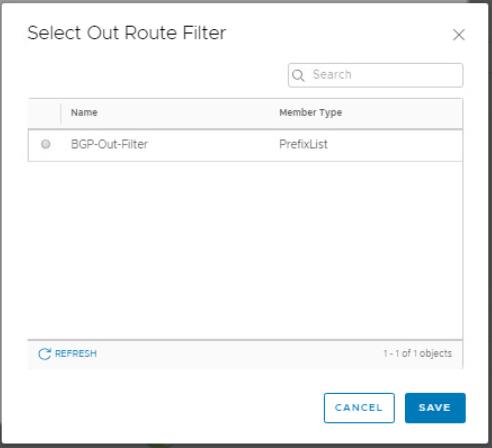
Select the prefix list previously created and save your work.
If you check the routing table on the upstream router now, you should not see the filtered transit subnets.
Hope this post is informative,
Thanks for reading,
Mohamad Alhussein


![Hostname vs Domain Name: What's the Difference? [With Example]](https://vmme.org/wp-content/uploads/2024/09/hostname-vs-domain-name-whats-the-difference-with-example-768x514.png)
