Elecrow recommends SquareLine Vision for building the UI visually, which should be easier (more intuitive) than coding in LVGL in Arduino IDE.📋
🚦
Table of Contents
The display in everyday use
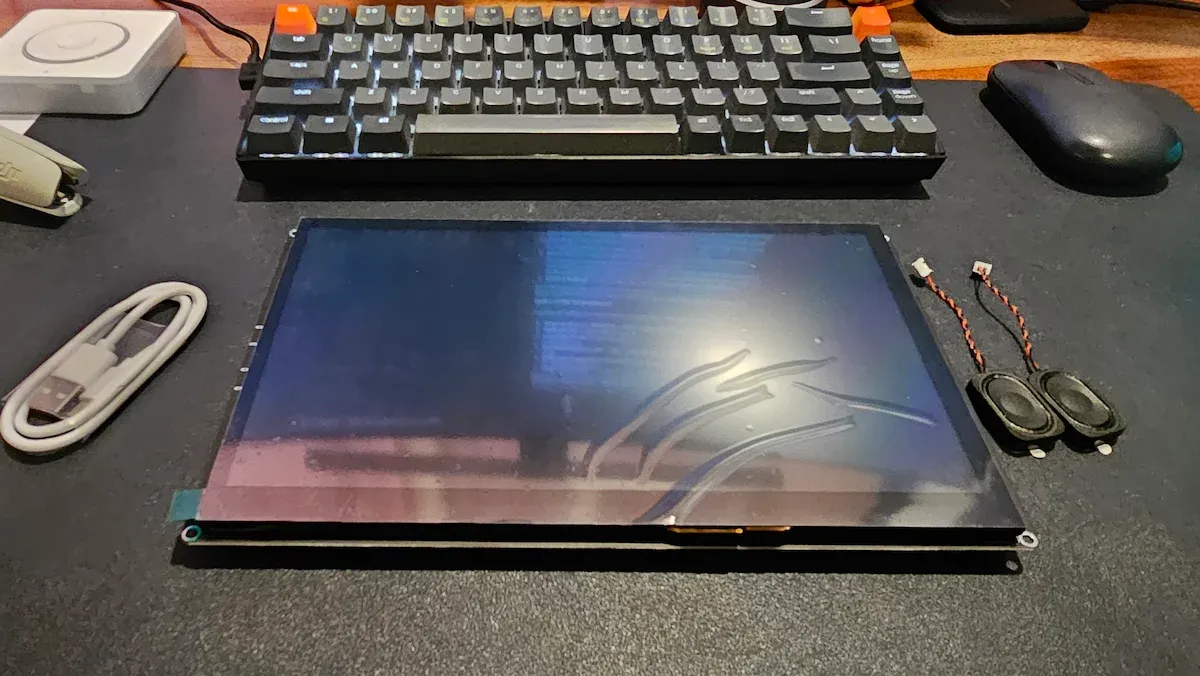
But if you are not comfortable flashing firmware, writing/generating code, it’s not for you. And then you also get the options to connect speakers on their own port. Which means that if you connect a LLM to your Home Assistant, and get a reply in audio format. There is a battery connector in case you want to use the device without direct power connection. The I2C, UART, and GPIO pins are accessible, too.To make it as control panel for the Home Assistant, I flashed it with my own firmware. I went the ESPHome route, since ESPHome talks to Home Assistant over its native API and does not need the Supervisor add-on setup, which matters because I run Home Assistant in a container on Zima OS.
Ports, audio, and the room to grow
This is where I spent most of my time, and where you should set your expectations.
It’s FOSS has been helping people use Linux for the past 14 years. Help us stay independent from big tech. Become a Plus member, enjoy ad-free reading and get 5 eBooks.
I am using Home Assistant everywhere because this is what I am using this device for. However, this Elcrow display can be configured and used in a number of projects. You just have to put your tinkerer hat on.I am repeating myself. This is not a plug-and-play smart home panel. You have to build on it. I started with a working control panel, and I plan on expanding that dashboard well beyond one button.Then there is the battery connector. A battery option gives it more flexibility and portability. It may be a good fit where you need the device to survive during a power cut. I did not test battery life as I did not have a spare battery to connect.
The camera and the AI question
Play with LVGL and you can configure the device as per your need. And you don’t even need to know coding. LLMs these days can easily help you generate code you want for your project.
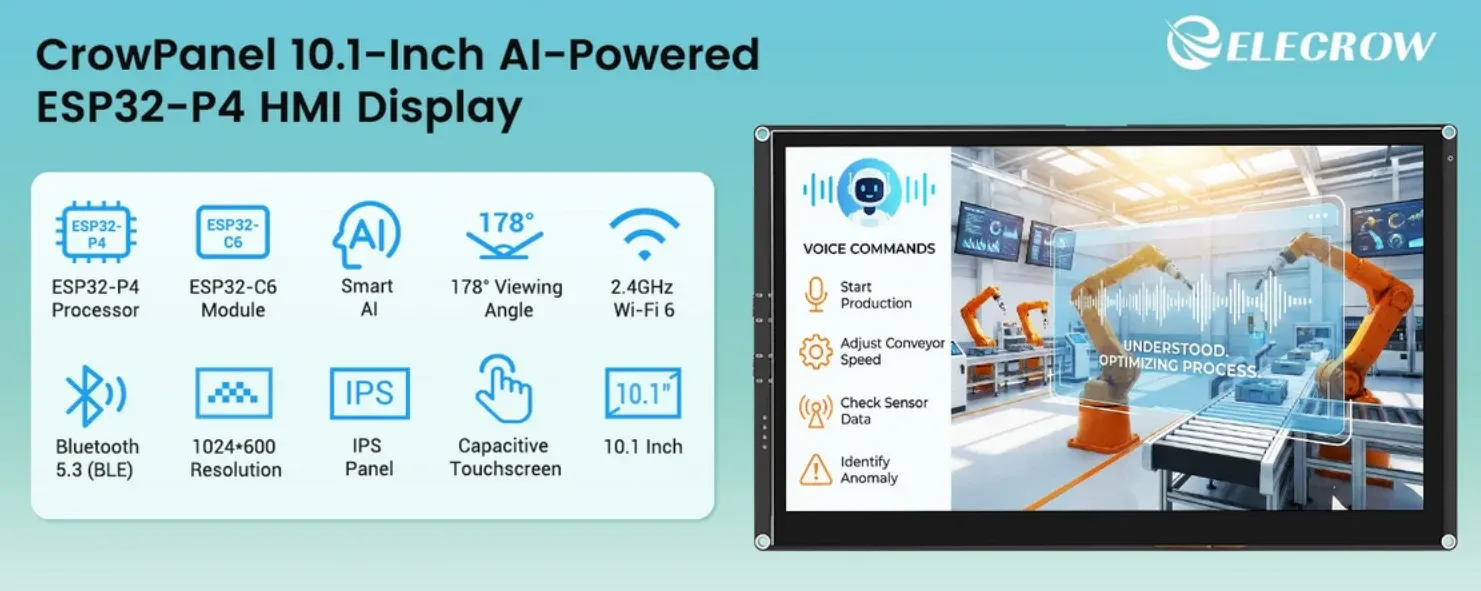
I have not properly tested the on-device AI feature. The ESP32-C6 is supposed to give edge AI capability to embedded devices. Now this could work with simpler cases like facial recognition for unlocking access, my thinking is that instead of running AI on the display board itself, use it as an interface and let a vision model run on a more capable device.
Is it worth getting?
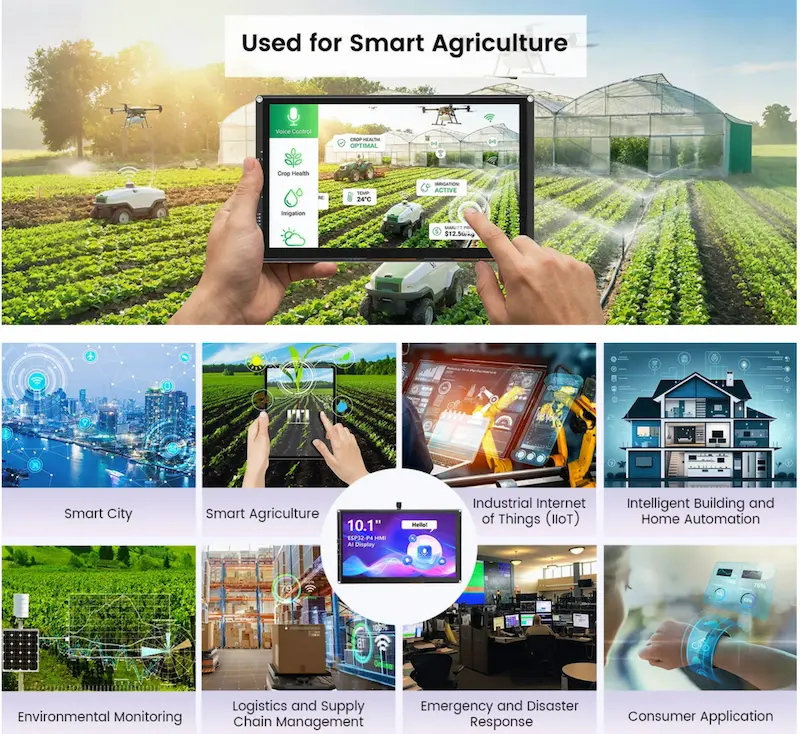
The two small speakers, when paired with the onboard microphone, can work as a voice satellite for Home Assistant Assist. So you get both a screen and a voice endpoint in one device. Of course, I am limiting it to Home Assistant but you can have more usage in godowns, factories, and even in homelab setups. Your imagination and creativity can be better than me.The exposed I2C, UART, and GPIO means you can plug in extra sensors, another microcontroller, or your own hardware off this board. For a DIY audience, that flexibility is worth more than a prettier screen.I have been (mostly) happily running Home Assistant in my homelab for a while now. There is a tiny issue, though. While my wife and I can manage most devices through the companion app, kids or guests cannot.If you already tinker with ESPHome or ESP32 projects and you want a large touchscreen to build a project, this board gives you a lot to work with.
Elecrow also mentions “integrated AI vision capabilities” because it has the scope for an add-on camera. The 2 MP camera is optional but it came in the package. I plugged the camera in and it worked.